
Creating A New Firebase Project
The first step towards integrating any of the 25+ features included in Firebase is creating a new Firebase project. The same project can be used across for multiple apps, but only one per platform. For example, a web app, Android app, and iOS app can all use the same project. This post is part of the Firebase tutorial series.
Firebase console
Visiting the Firebase console page displays an overview of all existing projects, a link to a demo project (requires log-in), as well as a large button to create a new project.
Create project form
Clicking the new project button displays the following screen:
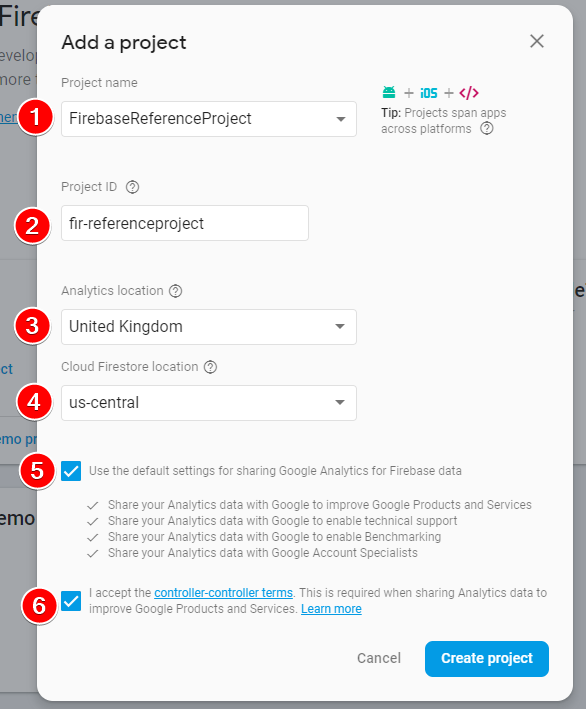
- Project name: This can be anything you want, and will never be seen by the user. There’s no need to include the platform in this name, as the same project can be used across Android, iOS, and web.
- Project ID: This is a globally unique identifier for this project, so many common identifiers will already be taken. Firebase will automatically suggest a reasonable name for you, but you can override this if desired. Again, it will never be seen by the user. This cannot be changed later.
- Analytics location: This defaults to US, but should be changed to your actual country as it affects the currency revenues are displayed in.
- Cloud Firestore location: This (unsurprisingly) sets where Cloud Firestore stores data. Note that there are only 3 regions available as of this article’s publication, 2 of which are in the US. The only non-US location (west europe) doesn’t support some features (e.g. Cloud Functions).
- Default settings: This setting toggles sharing Analytics data with Google. This is recommended, as it improves the service in general, and also allows Google’s technical support to diagnose any potential issues.
- Controller-controller terms: This setting is only available when Default settings are enabled, and confirms that data should be shared according to the Data Protection Terms.
Submitting form
Once “Create project” is clicked, it may take up to 30 seconds to actually create your project, during which you will see the screen on the left, followed eventually by the screen on the right:
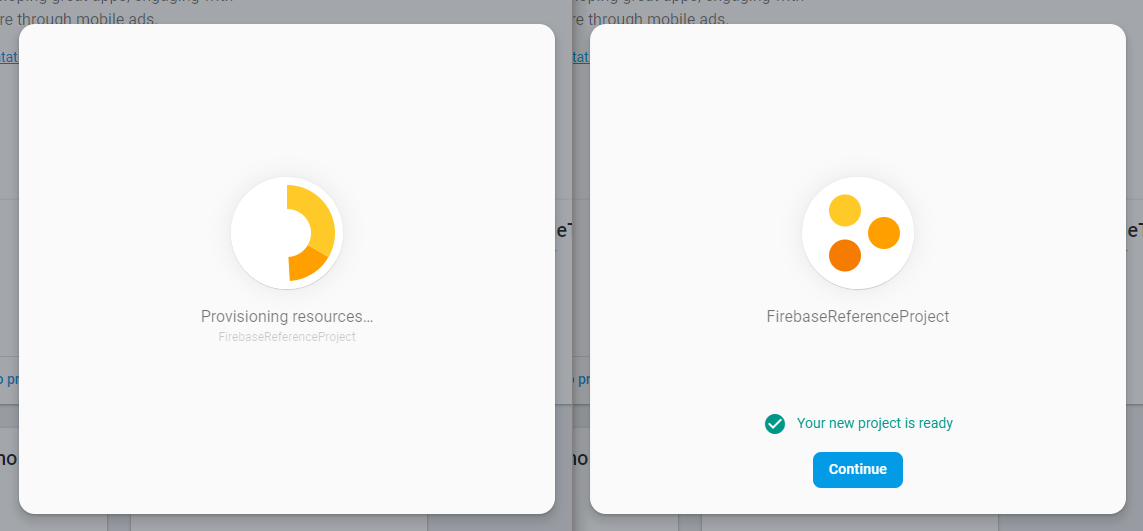
When “Continue” is clicked, project setup is complete! You’ll then be taken to the Firebase dashboard, and prompted to integrate Firebase into your app. This topic will be covered in the next post. For help with implementing a specific Firebase feature, please view the other Firebase posts.