Using StickyLayoutManager to give your RecyclerView sticky headers
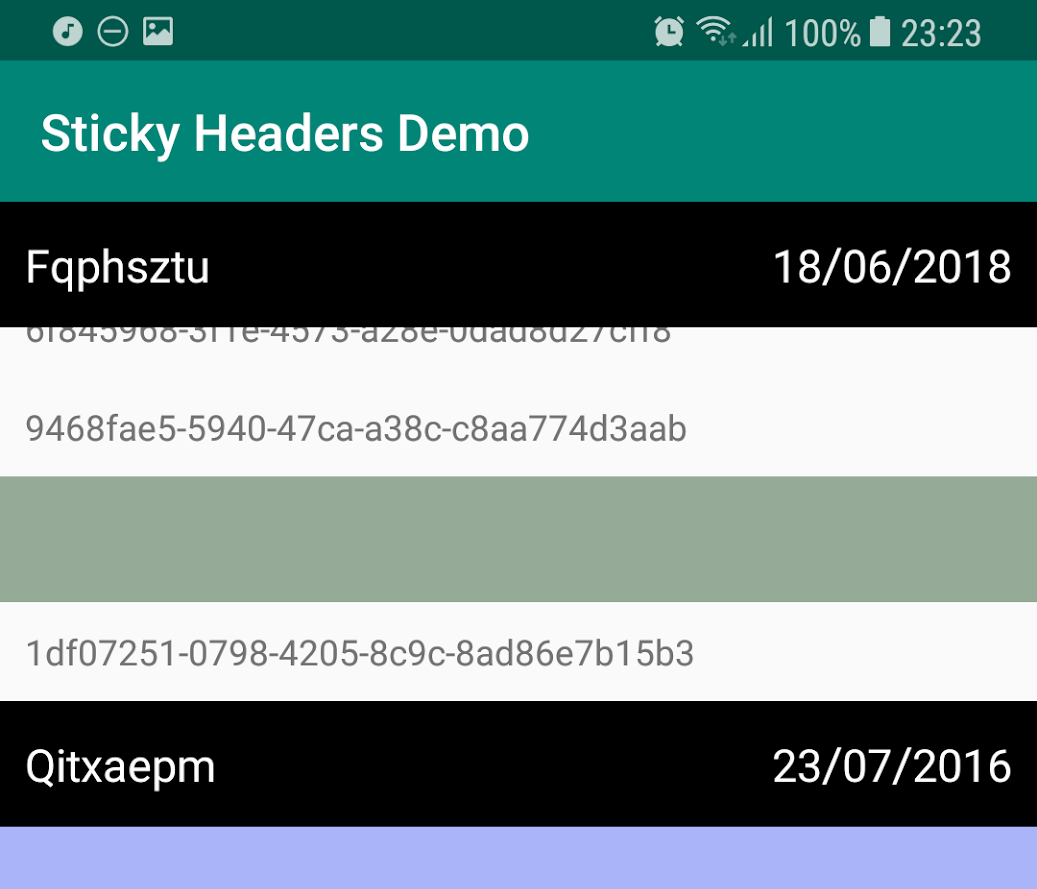
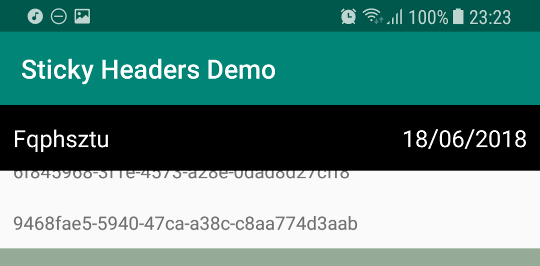
Once you’ve created a RecyclerView with headers and content, it’s often useful to have the headers “sticky”. Sticky headers will display over the top of your content, and help your app’s users keep track of which section they are currently in.
This tutorial will cover adding sticky headers to your existing implementation in just a few lines using qiujayen’s Sticky-LayoutManager library. If you haven’t yet created a RecyclerView, I’ve previously written a tutorial on creating RecyclerViews with multiple content types which may be useful.
Adding StickyLayoutManager library
First, add jitpack to your project-level build.gradle:
allprojects {
    repositories {
        ...
        maven { url 'https://jitpack.io' }
    }
}
Next, add the Sticky Layout Manager library to your app-level build.gradle:
dependencies {
    implementation 'com.github.qiujayen:sticky-layoutmanager:1.0.1'
}
Adding stickiness based on type
First, make your RecyclerView adapter (e.g. ContentAdapter in the previous tutorial) implement StickyHeaders:
class ContentAdapter() : RecyclerView.Adapter<RecyclerView.ViewHolder>(), StickyHeaders {
Next, implement the required isStickyHeader(position: Int) function. In this case, if a row is a HeaderRow, it should be sticky:
override fun isStickyHeader(position: Int) = rows[position] is HeaderRow
Finally, actually set the RecyclerView‘s layout manager to StickyHeadersLinearLayoutManager, with a type of your adapter, and a context:
recyclerView.adapter = ContentAdapter()
recyclerView.layoutManager = StickyHeadersLinearLayoutManager<ContentAdapter>(this)
That’s it! This tutorial is available as a GitHub repo.