Using Microsoft's PowerToys for easy image resizing in Windows
When I moved from WordPress to Jekyll, I lost out on some of the auto-thumbnail functionality. Whilst I could manually create thumbnails and header images, I started looking for a more efficient solution for my Windows 10 machine. Enter Microsoft’s PowerToys’ Image Resizer.
Microsoft’s PowerToys pack by Brice Lambson has been around for just over 2 years, but doesn’t seem very widely used. It has a lot of useful functionality (remapping keys, changing window snapping, always on top, power rename, color picker, previewing for more file types, and more!), but I’ll only be talking about Image Resizer in this post.
Installing Image Resizer
- Go to the latest PowerToys release on GitHub.
- Download the attached
.exe. - Install it as normal, no restart needed.
Configuring Image Resizer
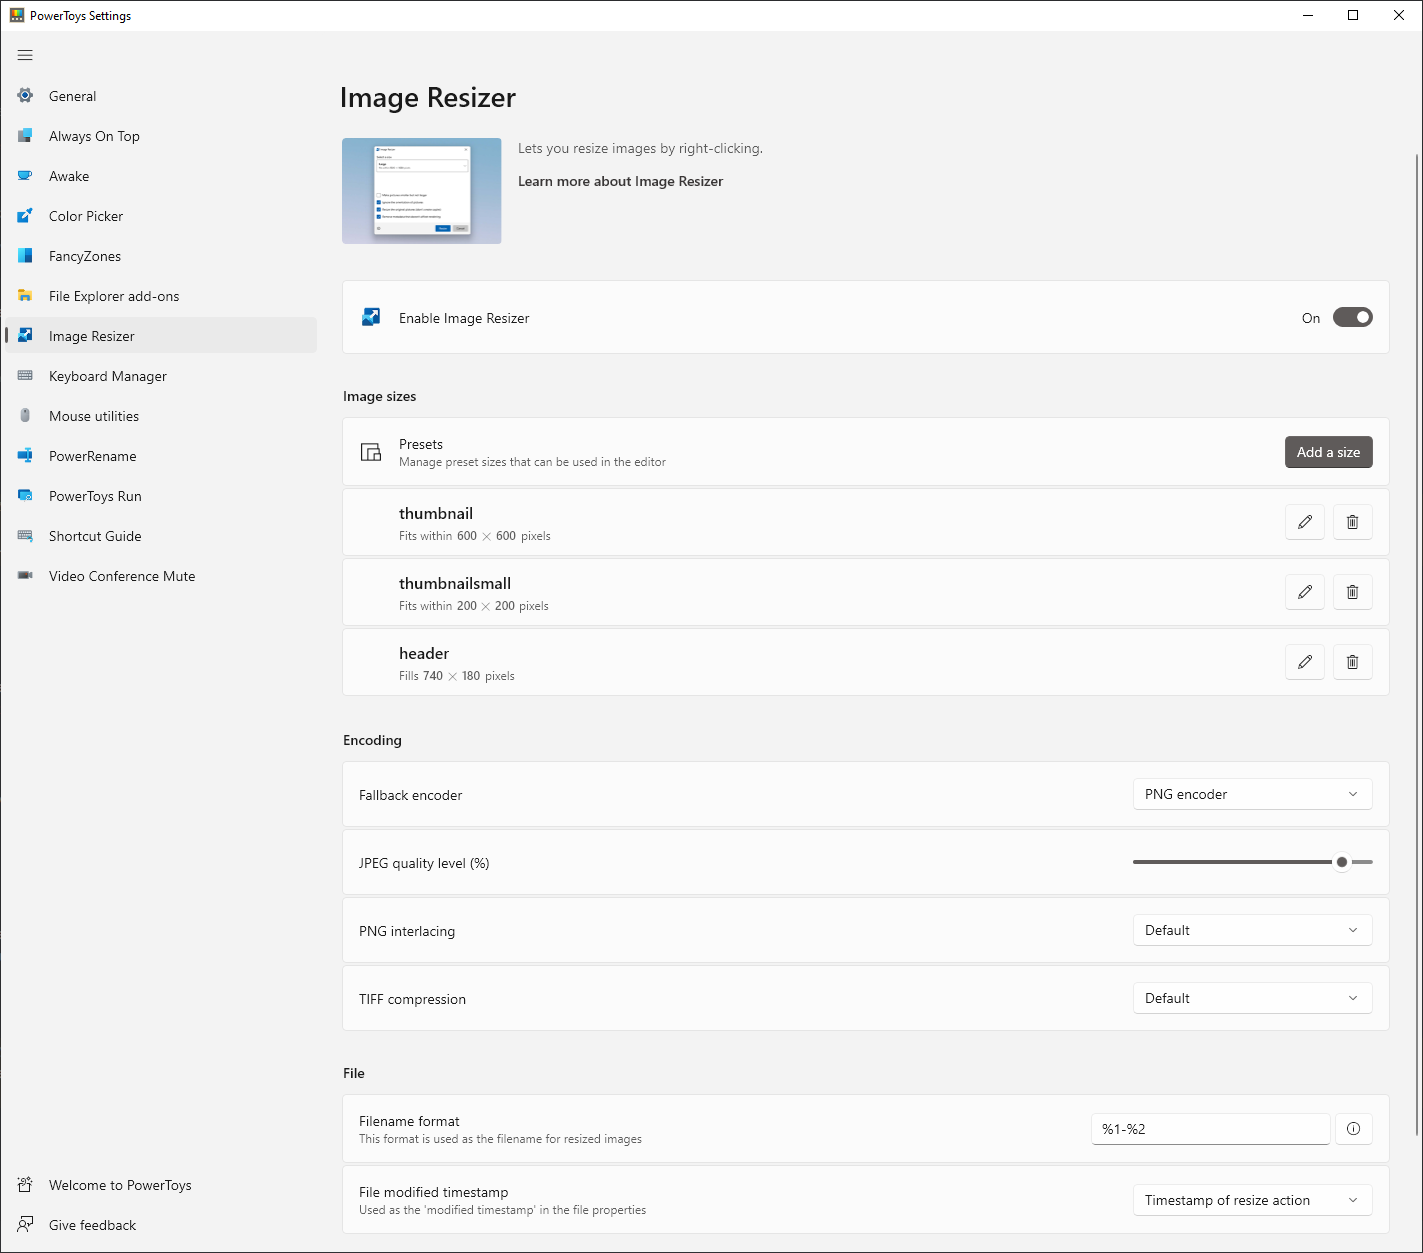
It’s a pretty straightforward utility, with the main options being your desired size presets and the output filename. You can define a custom size when resizing images, but presets are helpful for repetitive actions.
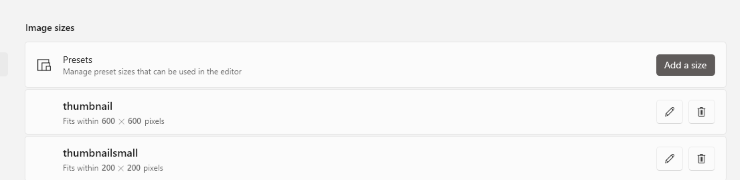
I have 3 presets that I’ll be using for this blog:
- “thumbnail”: Used on the image above, makes a copy of the image that fits within 600x600. For example, a 1200x500 image would be resized to 600x250.
- “thumbnailsmall”: Used when multiple images are side by side, same logic as “thumbnail” except smaller.
- “header”: Used for this post’s header, shrinks & crops an image to the necessary size, filling the space.
I’ve set my output filename to the original filename with the preset name at the end. For example myimage.png would become myimage-thumbnail.png. There’s a few basic options available:
The “Encoding” options are only used if the resize fails, so are very rarely used.
Using Image Resizer
Now that your basic settings are configured you can actually use the utility. Select a few images, right click, and there’ll be a new “Resize pictures” option in the context menu.
Clicking it opens up a dialog with options for what to do with the selected images:
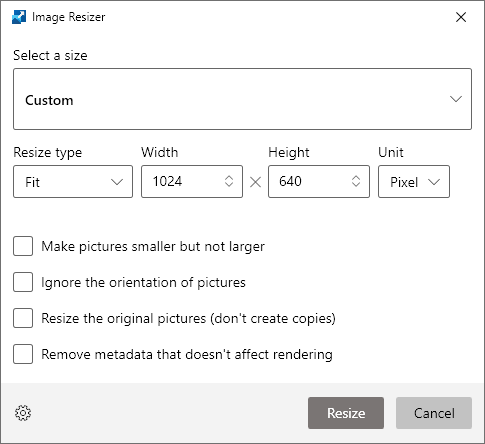
The options aren’t explained in the documentation, and can be a little unintuitive:
- Select size: Select from a predefined preset, or perform a custom resize.
- Make pictures smaller but not larger: This controls whether images should ONLY be shrunk (i.e. for thumbnails) instead of enlarged, even if both of their sides are already within the limits. I recommend leaving this unchecked.
- Ignore the orientation of pictures: This controls whether images should be rotated to better fit the desired size. I recommend leaving this unchecked.
- Resize the original pictures: This controls whether the original file should be replaced. I use this for the blog headers, but not the thumbnails.
- Remove metadata that doesn’t affect rendering: This controls whether irrelevant metadata (e.g. camera used, location, etc) should be stripped out. I recommend ticking this, especially if you’re resizing photos you’ve taken.
Conclusion
I really, really like this tool! It’s super useful, doesn’t feel bloated, and does exactly what I need it to.
I’m surprised PowerToys aren’t promoted more, especially given Microsoft’s massive impact on the developer community with GitHub (acquired) and VSCode among others. The open source nature of the tools is much appreciated, as are the regular releases. Hopefully the functionality (and PowerToys in general) eventually gets folded into the core Windows build, and reaches a wider audience!