
How to migrate a Jekyll Minima blog from Universal Analytics to Google Analytics 4 (UA to GA4)
When I first set up my Jekyll blog with Minima, it had built-in support for Google Analytics. Great! However, only using a legacy “Universal Analytics” ID seemed to work. This was fine for a few years, until I discovered the system is being sunset, and all users need to move to Google Analytics 4 ASAP… Here’s how to do it.
On the 10th November I received the following email from Google, prompting me to actually fix this long-ignored issue:
We’ll soon sunset Universal Analytics
On 1 July 2023, Universal Analytics will stop processing new hits. If you still rely on Universal Analytics, we urge you to prepare for the future by moving over to Google Analytics 4, our next-generation measurement solution.
I only use the very basic Google Analytics features (which pages are viewed, how often), and as such the migration was pretty simple.
Summary
Before I run through each step in detail, here’s the high level overview of how to migrate from UA to GA4:
- Create a new GA4 property in Google Analytics to get a GA4 ID.
- Override your Jekyll blog’s UA code to support GA4.
- Tidy up how your GA4 ID is used.
- Testing.
Step 1: Setting up GA4
Step by step
| Step | Screenshot |
|---|---|
| Visit your existing Universal Analytics page, and click the “Let’s go” button in the warning banner. | 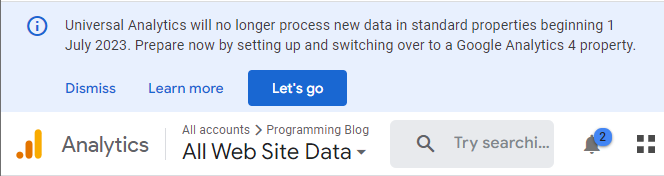 |
| On the setup assistant page, click “Get Started” to begin creating a GA4 property. | 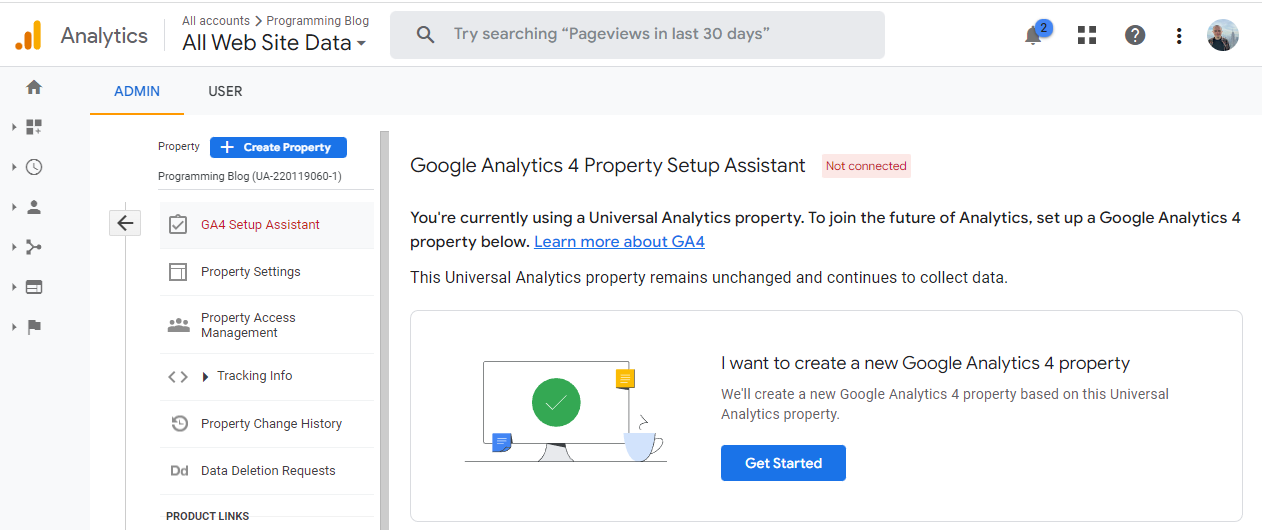 |
| Click “Create and continue” on the pop-up with more information about what we’re about to do. | 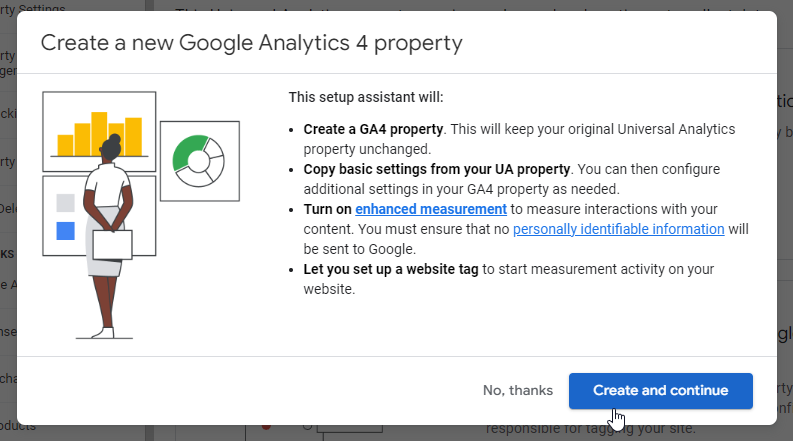 |
| I didn’t have any existing tags, so I selected “Install a Google tag” and clicked “Next”. |  |
Finally, I opened the “Install manually” tab and saw both my GA4 tag (G-99...) and the HTML I need to embed. |
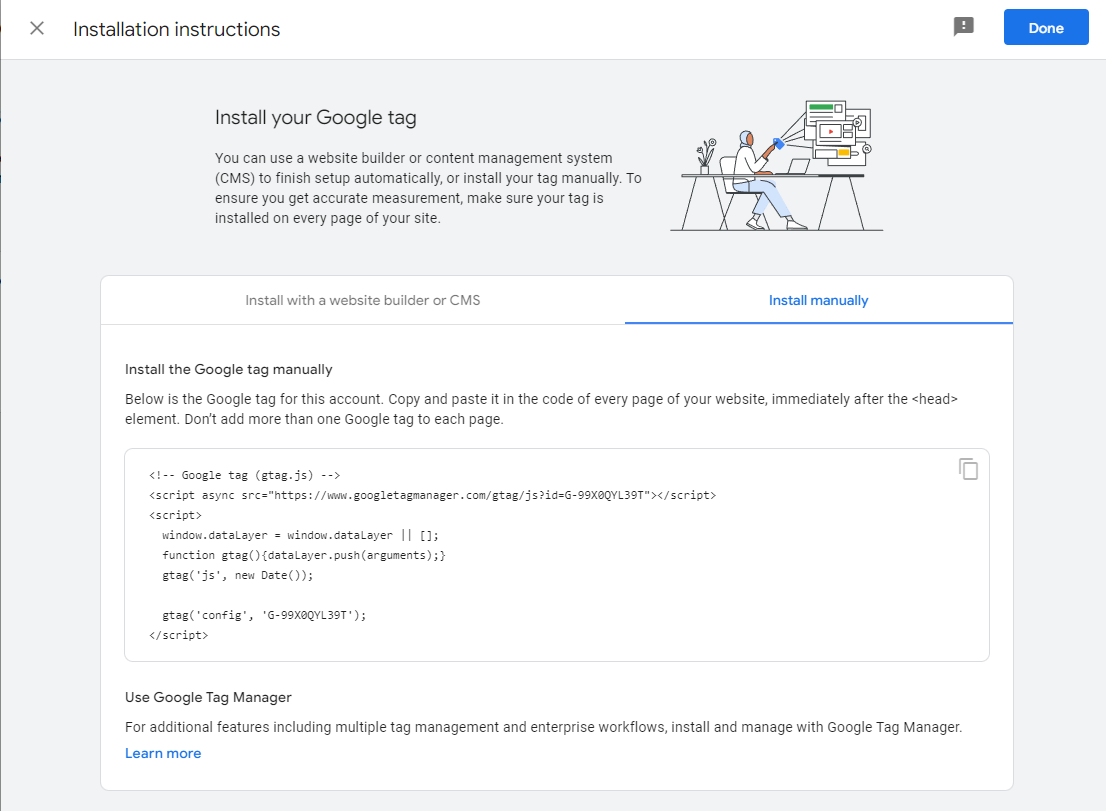 |
Once you’ve got your bunch of HTML, copy it somewhere safe, we’ll need it in Step 2. I’ve included sample code below with Step 3 of this article already done.
Google tag code
<!-- Google tag (gtag.js) -->
<script async src="https://www.googletagmanager.com/gtag/js?id={{ site.google_analytics }}"></script>
<script>
  window.dataLayer = window.dataLayer || [];
  function gtag(){dataLayer.push(arguments);}
  gtag('js', new Date());

  gtag('config', '{{ site.google_analytics }}');
</script>
Step 2: Replace existing tracking
Now that we have our new GA4 HTML, we need to replace what is currently on our site. This is done by overriding the included google-analytics.html file.
- Inside your Jekyll blog’s base folder (e.g., where
_postsis), create_includes. - Find your Minima theme’s
_includesfolder, commonly found at:- Windows:
C:\Ruby27-x64\lib\ruby\gems\2.7.0\gems\minima-2.5.1\_includes - Mac:
/usr/local/lib/ruby/gems/2.6/gems/minima-2.5.1/_includes
- Windows:
- Copy the
google-analytics.htmlfile from the Minima_includesfolder into your site’s_includesfolder. - Your site is now using GA4!
Whilst you could finish the process here, it’s worth doing a little additional tidying up.
Step 3: Tidy up ID usage
Before we replaced our Google Analytics file, the tracking ID came from the _config.yml page. Let’s make that happen again.
- Replace the old ID in
_config.ymlwith your new ID. - Replace both instances of the new ID in
google-analytics.htmlwithG-99X0QYL39T.
Now, the ID will be pulled from our config, just as it was previously. Here is my commit performing these changes on my personal blog.
Step 4: Testing
There’s a few ways to test your implementation, but by far the easiest is just running your site locally and checking event sending works.
By default, no tracking happens unless the site is running in production. We’ll want to disable that temporarily by overriding the head.html file (just like we did with google-analytics.html):
- Again, copy
head.htmlfrom Minima’s files to your blog’s files. - Edit it, removing
jekyll.environment == 'production' and. - Save.
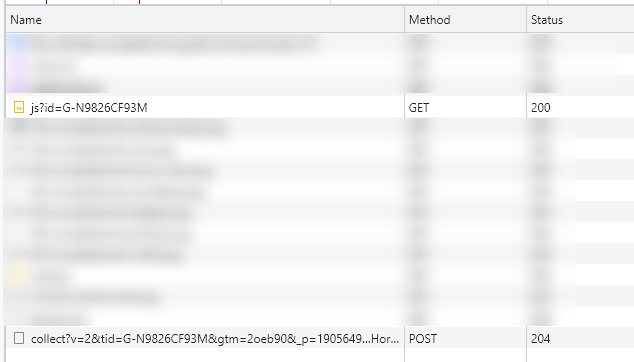
Running your site locally should now be pointing correctly at your new GA4 property. Looking at the dev console’s (F12, or Ctrl/Cmd + Shift + I) “Network” tab whilst a page is loading should show the Google Analytics script being fetched (with your ID), and then a “ping” being responded to with a 204:
After a short wait (took 60 minutes for me, can take up to 24 hours) you should also see your page view on your new GA4 property’s dashboard.
Assuming both of these tests are successful, you’re all done! Don’t forget to undo your changes to head.html before you push your code changes, and enjoy all the new features GA4 has to offer.