How to migrate from Utterances to Giscus for Jekyll comments
Since migrating from Wordpress to Jekyll, this blog (and my non-tech blog) has used Utterances for comments, which creatively uses GitHub issues for comment hosting. However, since then GitHub has released the “Discussions” feature which… is a much better fit! Luckily, Giscus is a way to use these, and can easily be migrated to.
I’ve now migrated both sites’ comments across to Giscus, and whilst it was a relatively simple process there’s no all-in-one guide currently. The short version is we’re going to enable GitHub discussions, configure Giscus, add it to our Jekyll blog, then migrate comments!
An overview of Giscus
Giscus is extremely similar to Utterances, with 3 main improvements:
- It uses GitHub discussions instead of issues, making it less of a hacky implementation (comments logically aren’t issues, they’re discussions!).
- It adds plenty of new features such as sorting comments, adding reactions to the main post, lazy loading comments, multiple languages, self-hosting the bot, and advanced options.
- It’s actually being maintained and updated! Constrastingly, Utterances hasn’t been touched in 6 months…
In addition to these benefits, it keeps all the original benefits of Utterances, namely:
- Open source
- No tracking / adverts / paid plan
- Lightweight
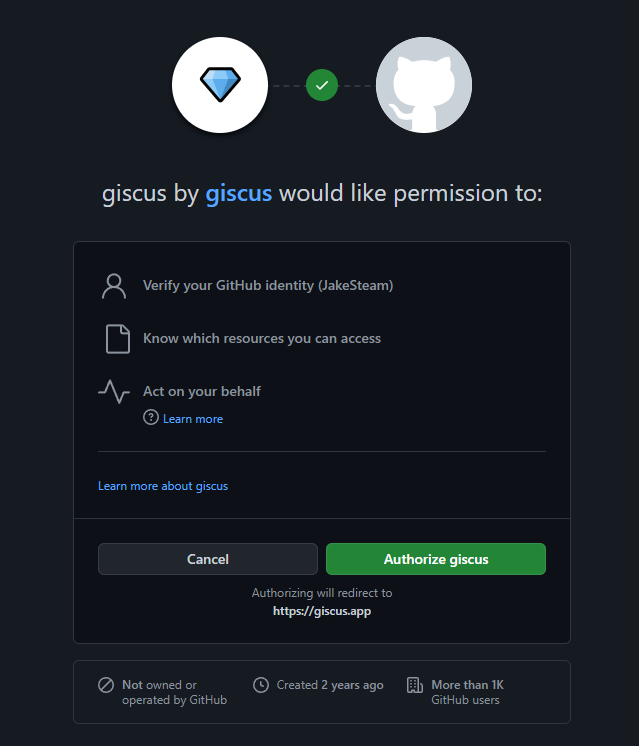
Unfortunately, it’s worth mentioning it also has the same drawback, a scary-looking auth screen when users first comment. It’s been a known issue for years, and the app can actually only access discussions on the repos it is added to!
Step 1: Preparing your repository
Before Giscus can be enabled, your repository’s discussions need to be prepared. First, enable discussions on your repository’s settings page. This will automatically create a new placeholder discussion, feel free to delete it.

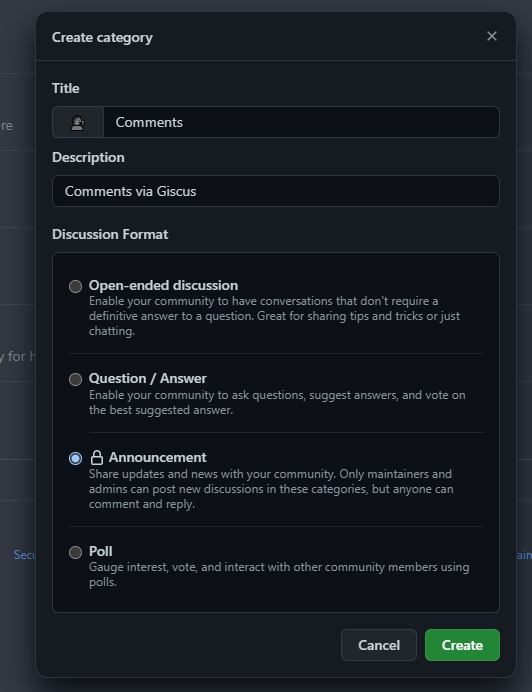
Next, we want an announcements-style discussion category (so only admins / Giscus can create topics, but anyone can reply), without reusing the “Announcements” category (since we may still want to make announcements!).
To do this, just click the edit icon next to categories on your repository’s discussion page, delete any you don’t need, and add your new category:
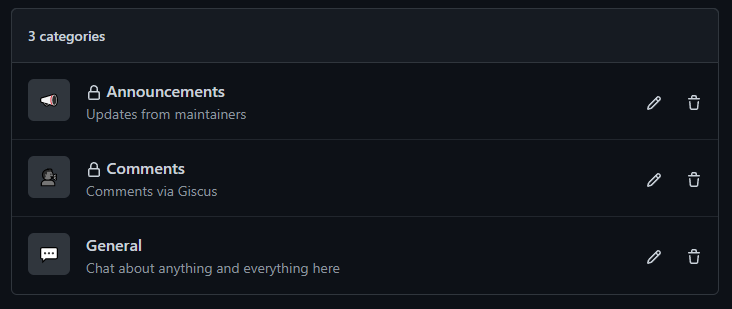
Once you’re done, your discussion categories should look something like:
Step 2: Preparing Giscus
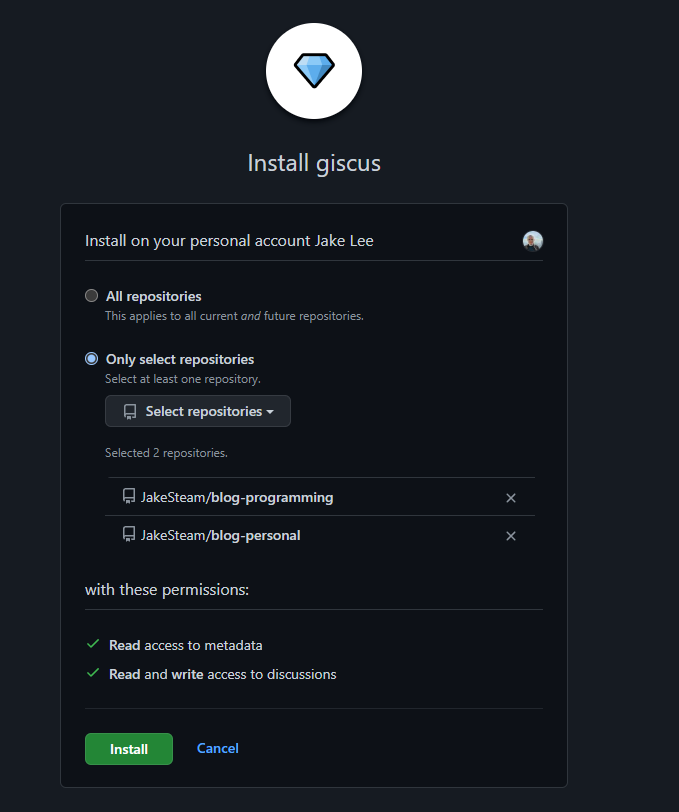
First of all, we need to add Giscus, and give it permissions to manage discussions in any repositories we want to use it on:
Now we’ve installed the app, we can use the Giscus project page’s handy tool to configure the comments.
- Enter your repository in the text field (in the format
JakeSteam/blog-programming). - Select how you want to map discussions to posts. I recommend leaving it on the default
pathnamesetting, and not enabling strict title matching, as this will prevent easy post migration (more info). - Select your new “Comments” discussion category.
- Select your features. I enabled reactions and lazy loading.
- Select your theme. I just used “GitHub Light”, but you can even use custom CSS here!
You’ll now have a big block of JavaScript ready to embed in the next step! Here’s how mine looks, if you want to compare:
<script src="https://giscus.app/client.js"
        data-repo="JakeSteam/blog-programming"
        data-repo-id="MDEwOlJlcG9zaXRvcnkzNTk5Mzc1OTM="
        data-category="Comments"
        data-category-id="DIC_kwDOFXQ2Oc4CQ06o"
        data-mapping="pathname"
        data-strict="0"
        data-reactions-enabled="1"
        data-emit-metadata="0"
        data-input-position="bottom"
        data-theme="light"
        data-lang="en"
        crossorigin="anonymous"
        async>
</script>
Step 3: Preparing Jekyll
For this step, all you need to do is add that block of JavaScript to your Jekyll post.html page. If you don’t have a custom post page yet, the Jekyll docs have a guide.
Optionally, a more Jekyll-y approach is to extract the IDs into your _config.yml file, and reference them in your post.html. This approach can be seen in my migration commit, all we’re doing is:
- Add
giscus_repo_id: MDEwOlJlcG9zaXRvcnkzNTk5Mzc1OTM=etc to your_config.yml. - In the JavaScript, replace the existing repo ID definition with
data-repo-id="{{ site.giscus_repo_id }}".
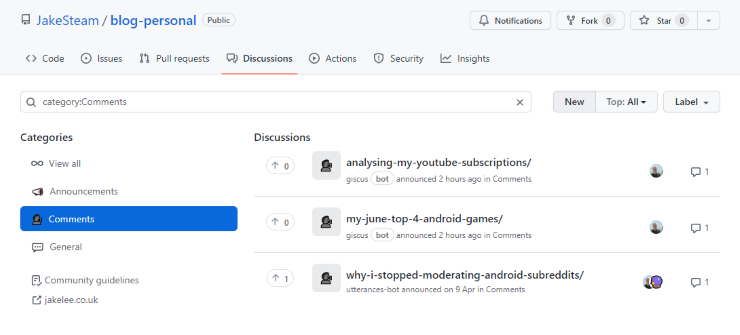
Run your site, and you should be able to create new discussions & leave comments! Nice! However… don’t forget about the existing comments.
Step 4: Migrating Comments
First, the good news: Issues can be migrated into discussions, and Giscus will be able to use them automatically. All existing comments will be kept, along with the authors and reactions.
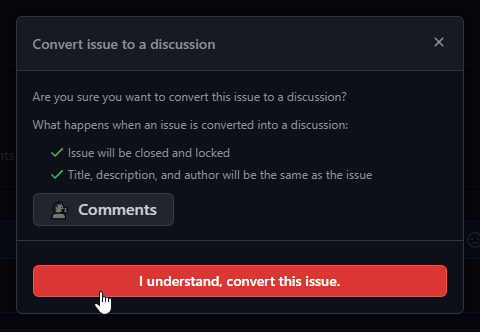
Alas, the bad news: Issues need to be migrated manually, one by one. GitHub has an official guide, just make sure you select your “Comments” category for migrated discussions:
Once they’re all migrated, you’re done! Woo!
Conclusion
Overall, the migration seems a no-brainer. Giscus has all the features and benefits of Utterances, with plenty of additional options as well as a more logical place on your repository!
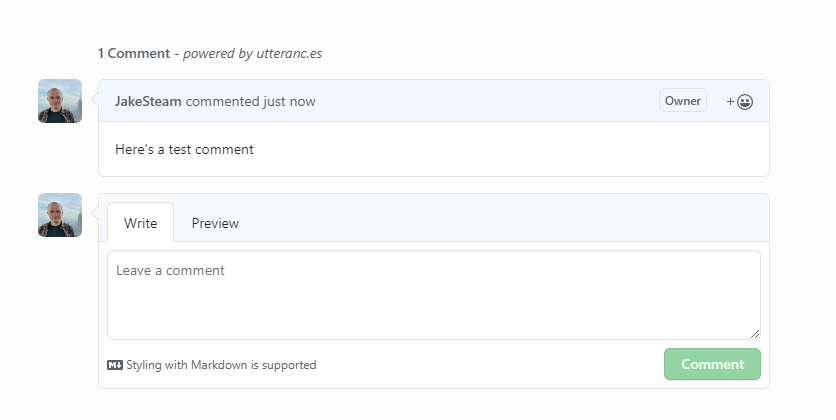
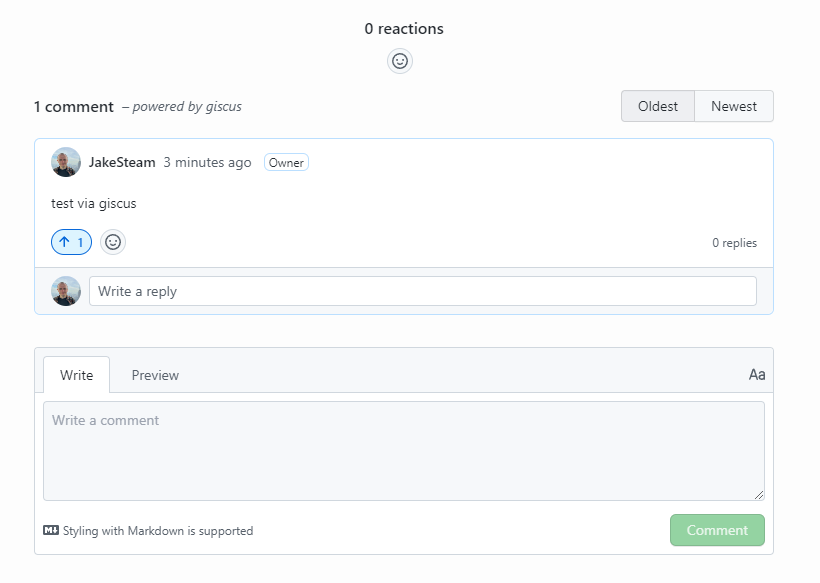
If you’re currently using lots of custom Utterances styling, it’s worth noting that the design has changed slightly (to match the discussions UI instead of issues UI):
| Utterances (default) | Giscus (default) |
|---|---|
 |
 |