How To Automatically Backup WordPress Posts To GitHub
When programming, most developers use GitHub (or another hosted git solution) to make sure all of their work is backed up in multiple places to ensure it is never lost. If you’re anything like me, when writing blog posts you want the same peace of mind you have with the rest of your work. This post will cover how to automatically export all WordPress posts to GitHub (and keep it updated), so that they can be imported later if necessary.
Installing WordPress / GitHub Sync
First, install the syncing plugin from the WordPress.org directory. This can be done by going to the “Plugins” -> “Add new” page, searching for “WordPress GitHub Sync”, pressing “Install Now” and then “Activate”. You can also download and upload it manually if you prefer from the plugin’s page. Note that the plugin is open source, and can be viewed on GitHub.
Configuring settings
A new option “GitHub Sync” will now appear under your Settings in the sidebar. Clicking this will take you to a somewhat complicated setup screen, here’s what goes in each field:

- GitHub hostname: This should not need to be changed, unless you’re using a company-hosted GitHub.
- Repository: The repository the exported posts will go into. This should be a public repository on your GitHub page, and should already have had the initialisation commit. GitHub provides a step by step guide to creating a repository if you haven’t done it before.
- Oauth Token: This is needed to allow the plugin to perform actions (syncing) on your behalf. To create one, just visit your tokens page, fill in a description, tick
public_repo, and press “Generate token”. You’ll then be shown a secret 40-character string (with a green background), copy it into the plugin’s form. - Webhook Secret: A webhook is needed for the repository to communicate back to the plugin. Create a new one for your GitHub repository by going to Settings -> Webhooks. Fill in the form as follows:
- Payload URL: Use the Webhook callback from step 6.
- Content type: Change to “application/json”.
- Pick a secret password, this can be anything at all!
- All other settings can be left at default settings.
- Click “Add webhook”.
- Default Import User: The user any posts imported from WordPress will post as. This defaults to your admin user.
- Webhook callback: Already used for the Webhook secret.
- Action buttons:
- Export to GitHub: This will perform an initial backup of all posts, make sure to click it.
- Import from GitHub: This would be used when restoring a backup, it isn’t needed for this.
Checking results
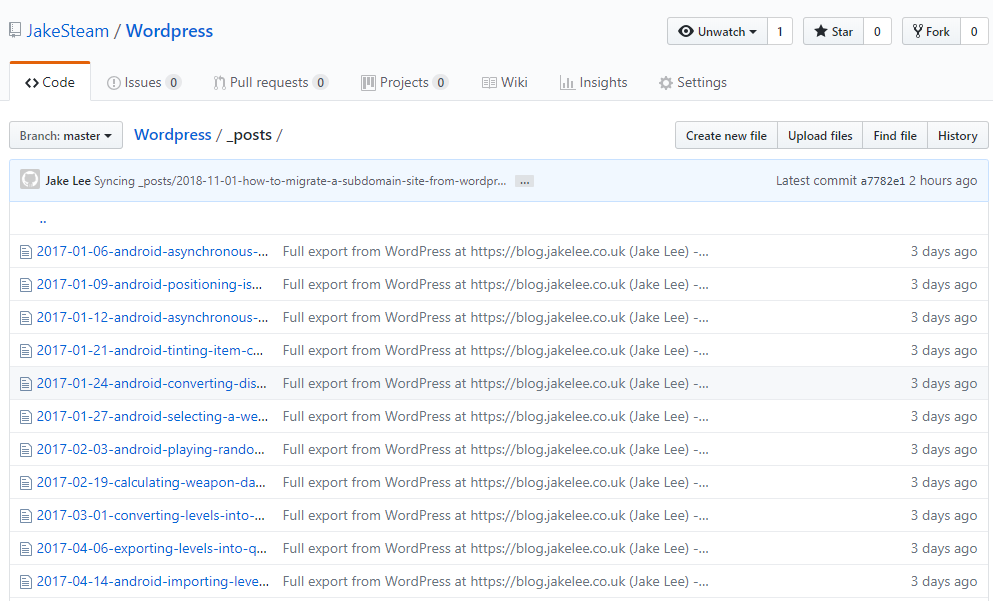
After pressing “Export to GitHub” in step 7.1 above, the plugin will begin working. After a few minutes (depending on the number of posts), you should see a repository filled up with all your posts and pages. The exported post contains a row of metadata (title, URL, author, publish date, etc), then the processed (HTML) version of your post, including all images and formatting. You can see an example exported post here, from this post.
Now, whenever you make a new post it will be automatically exported here. Nothing private has been exposed, as all of the posts are already publicly viewable, and the plugin’s open-source nature (and limited permissions) means it’s relatively trustworthy. I’ve been using it myself on this blog, and it’s successfully exported every post. Awesome!
