
How to install LaTeX (with previews & autocomplete) for VSCode on Windows
I recently decided to learn the basics of LaTeX, a way of preparing documents primarily used in STEM academia. I also decided to use VSCode, as I do for almost all other work. This was not as easy as I expected, so here’s a complete beginner’s guide to getting LaTeX working in Visual Studio Code on Windows!
Installing LaTeX
First up, we need LaTeX support on our system. This is where it instantly can get a little confusing!
There are multiple “distributions” of LaTeX (e.g. TeX Live, MiKTeX), which themselves basically package up “TeX”. These distributions have installers, then schemes, packages, it’s all a bit overwhelming to a beginner.
Luckily, having just blundered through these mysteries, I can keep it nice and simple.
Downloading the TeX Live installer
You need TeX Live, as it contains all the core components we’re after.
Install it from tug.org by clicking install-tl-windows.exe.
Double-click the file once downloaded, and… Windows will likely flag it as from an unknown source. Choose “Proceed anyway”. As this StackExchange answer states the same URL, and other search results reference it too, we can trust the source.
Running the TeX Live installer
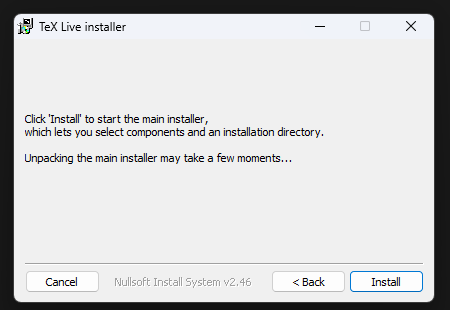
The first screen we see has the “Install” option already selected, so click “Next”.

The second screen is more of the same, click “Install”.
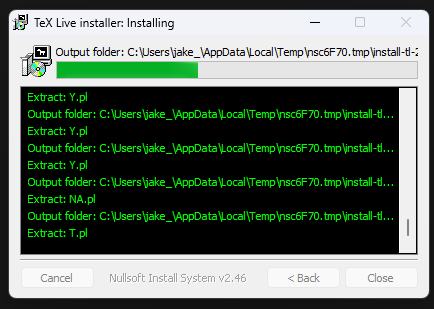
This will pop up a scary looking window whilst it extracts the installer, this should only take a few seconds.
When this has finished, a picture of a running cheetah will inexplicably appear for a few seconds whilst it finds a package server to connect to. This should disappear in a few seconds, replaced by the main installer.
Configuring the installation
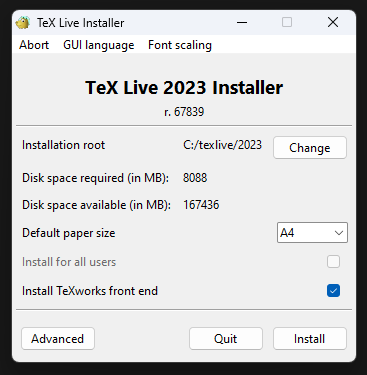
Okay! We’re ready to actually install LaTeX, or at least configure the installation.
By default, the installation will be 8GB, and includes every possible use of LaTeX. You are welcome to use that if you want, however it will take up to an hour(!) to install.
If you are happy to wait (not recommended), skip the next 2 optional steps and go straight to preparing VSCode. Otherwise, carry on reading.
Reduce install size (optional #1)
Instead, I’d recommend changing the install scheme. To do this, click “Advanced”, and you’ll see a screen full of options.
Click “Change” next to “full scheme (everything)”, and this dialog will pop up:
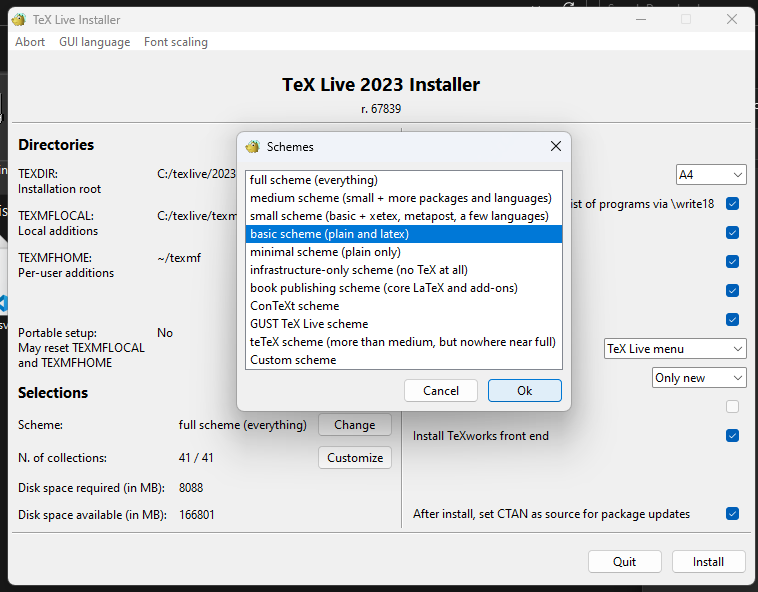
Change the scheme to “basic scheme”, then click “Install”. This scheme is more reasonable, around 430MB, and will take a couple of minutes to install on an SSD.
Here’s how it’ll look when finished:
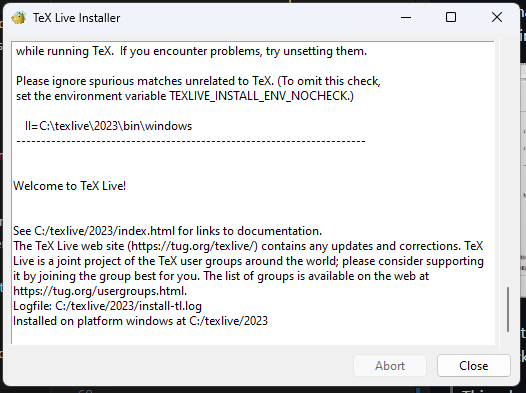
LaTeX is now installed! However, it does not include a crucial package we need (latexmk).
Installing latexmk (optional #2)
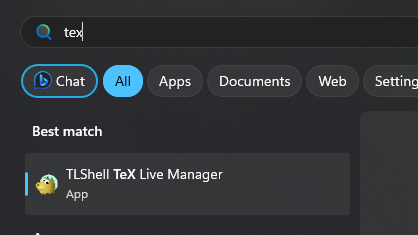
Despite just installing a couple of hundred packages, one we absolutely need was not included! To fix this, first open up “TLShell TeX Live Manager”, which has now been installed.
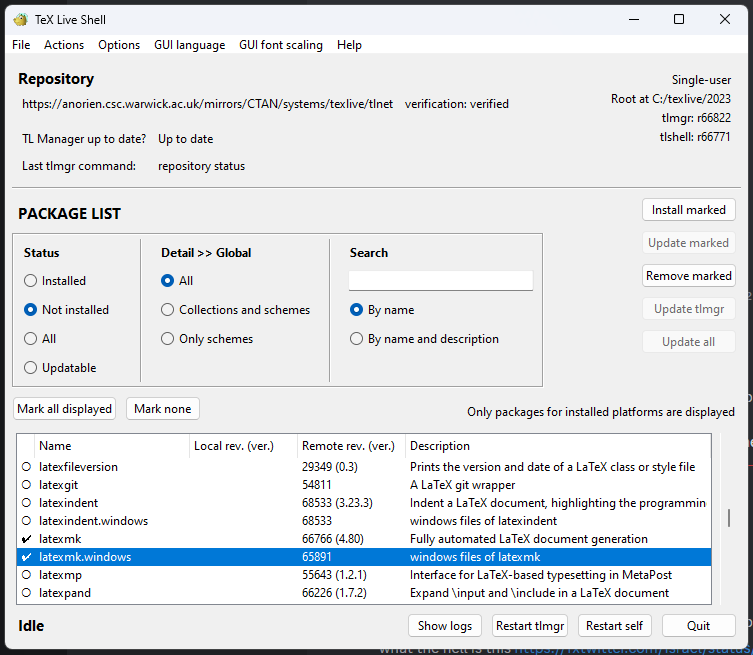
This will show all of your installed packages by default. Under “Status”, change the view to “Not installed”. This will take a few seconds, as it is fetching data from a remote server.
When it has loaded, scroll all the way down (use the side scroller!) to latexmk and latexmk.windows. Click the circle next to their name so they become ticks, then click “Install marked” near the top right.
This won’t take more than a couple of seconds. Once it is done, close any dialogs and TeX Live Shell.
We now have a fully functional LaTeX install! Oh, right, VSCode…
Preparing VSCode
This bit is much more straightforward, thankfully.
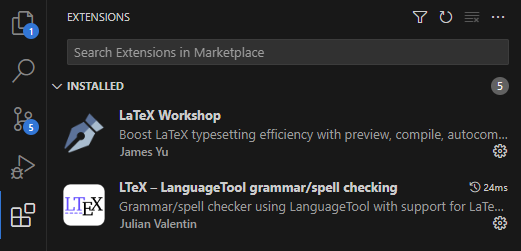
Search for “LaTeX Workshop” and “LTeX - LanguageTool” in VSCode’s extensions tab, and click to install both. Only the first is required, but the second will give very useful grammar and spellchecking capabilities.
Make sure you install the LanguageTool extension by “LTeX+”, as the one by “Julian Valentin” is not maintained and has been forked.
VSCode will probably ask you to “Reload”, if not then close and reopen it yourself.
Testing your installation
Okay, you’re good to go!
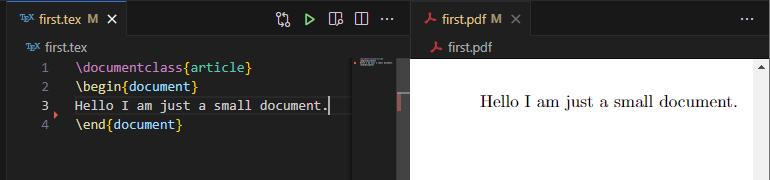
To test this, create a new .tex file in VSCode. Add some basic LaTeX code, such as:
\documentclass{article}
\begin{document}
Hello I am just a small document.
\end{document}
When you save this document, you should notice 4 things:
1: New LaTeX buttons
The top right of your file should have buttons to build your LaTeX project and preview it.

Clicking the preview icon will hopefully… preview your file!
Technically, this is spinning up a local server, monitoring the file, generating a PDF, and embedding it. Luckily this is all done behind the scenes. However, the details are visible in…
2: LaTeX Workshop output
At the bottom of your screen, the “Output” tab may show how much work went into this simple preview. Changing and saving your .tex file will make a flurry of activity reappear.
I’d recommend changing bottom tabs unless you like seeing lots of logs every time you save!
It’s worth pointing out that this is also where any issues will surface themselves. For example, I initially didn’t install latexmk, and the error messages made this pretty clear. If you do happen to see any errors about unable to find x, try repeating the latexmk installation with the mentioned package.
3: Lots of new files
Your single .tex file now has 6 new friends!
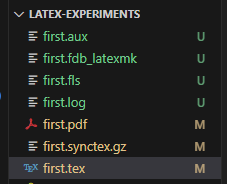
It’s probably a good idea to configure your .gitignore file to ignore most of these. You can either use LaTeX Workshop’s .gitignore, or I use this minimal one for very simple documents:
*.aux
*.fdb_latexmk
*.fls
*.log
*.synctex.gz
Using either of these, you’ll only commit the raw .tex file and the .pdf output.
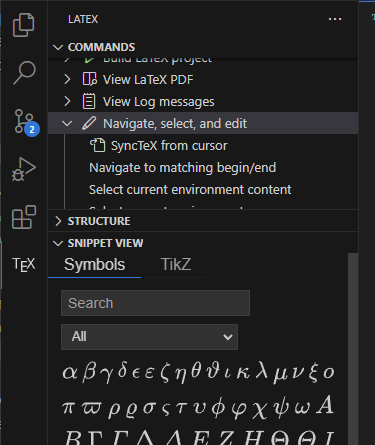
4: A LaTeX tab
Your sidebar will now have a new “LaTeX tab”. Opening it will reveal a collection of LaTeX-y shortcuts, and the ability to easily insert any of hundreds of Symbols / TikZ commands.
All done!
That’s it! You now have LaTeX support within VSCode on Windows, complete with autocomplete, spellcheck, etc.
I’m going to be using this tutorial to learn, there might be better ones but this seemed very accessible.
Misc thoughts
This was far more complicated than it needed to be. I admittedly made it harder on myself by not just accepting the 1 hour 8GB install, but even then there were so many small areas of friction!
The LaTeX Project does do a good job from the documentation side, providing a high level overview without unnecessary technical detail. However, as soon as you click “Get”, and are met by multiple ways of getting multiple distributions for multiple OS… it falls apart.
The very first section starts off extremely promising, drawing complete newcomers in with this wording:
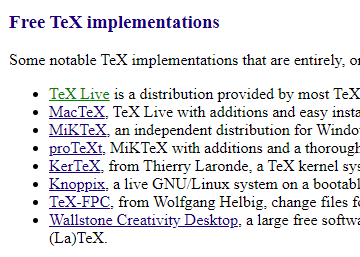
If you’re new to TeX and LaTeX or just want an easy installation, get a full TeX distribution. The TeX Users Group (TUG) has a list of notable distributions that are entirely, or least primarily, free software.
Unfortunately, the link takes me to tug.org, which is actually timing out for me currently. Once it came back up, the result is not very intuitive. Is one of these better? Is one of them awful? No idea. Whilst I know from elsewhere that the top option is 100% what I want, I could easily have picked an incorrect option!
Of course this isn’t too unusual in open source software, especially anything to do with academia. The installer did not need to be that complicated. The default install did not need to install every obscure package. I did not need to install an unsigned .exe. Etc.
I would love to see a much more user friendly “quick install”. The vast majority of users don’t care which package server they’re connected to, they just want the ability to edit .tex files as soon as possible. Install the basics by default, and provide an easy way to install additional bundles of packages. Encourage new users, don’t give them a trial by fire.
There is the argument that as an academic tool, all users are likely to have higher education but… is that relevant? If I have an MSc in Physics from the 80s, that’s no guarantee that I can configure installed packages.
Regardless, now it’s all setup, I’m looking forward to doing more than writing “Hello world”. Maybe there’ll be a tutorial or two on here in the coming weeks!
Useful links
- LaTeX Project homepage
- LaTeX Workshop GitHub & VS Marketplace
- LTeX Language Tool GitHub & VS Marketplace
- Beginner-friendly LaTeX Tutorial
- TeX Live