Exporting Levels Into QR Codes Using ZXing
Connect Quest is an android game where players rotate tiles to make a city flow. They also have the ability to create their own levels, and share them with other players. The data transfer method chosen was QR codes, since it was the most widely-used and compact method available.
The Solution
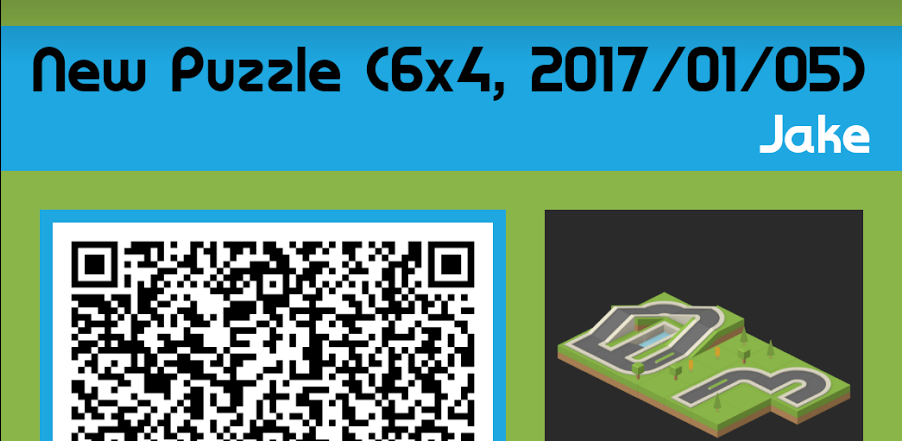
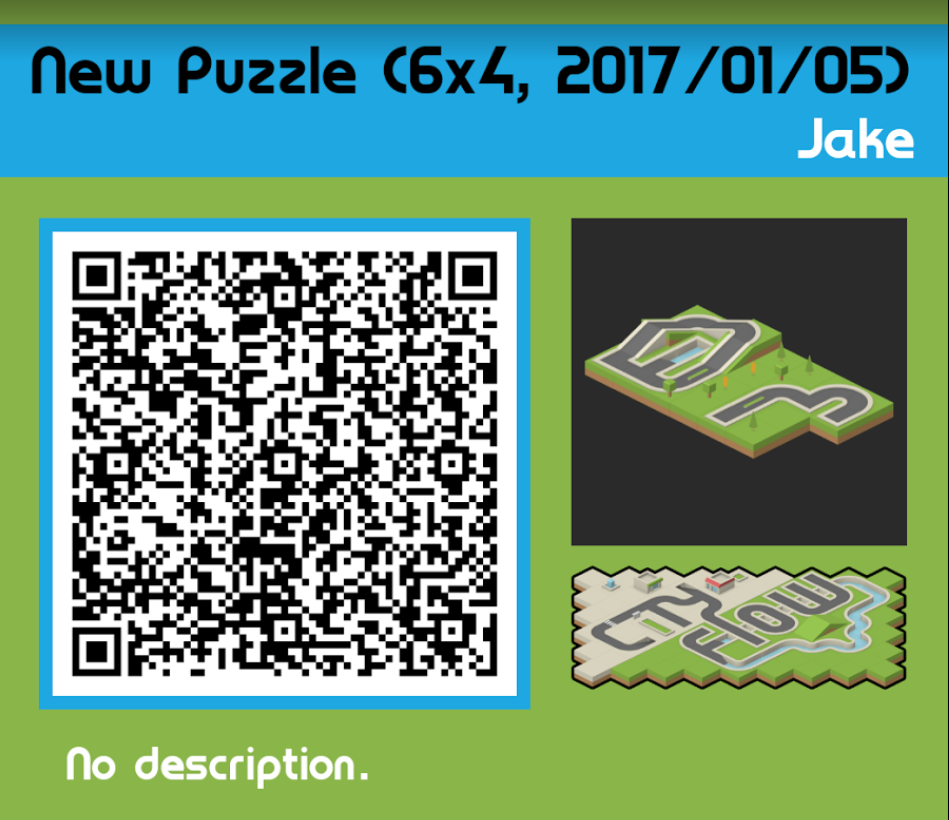
To allow the easy transferring of data, card images could be generated from levels, which contained information about the map alongside the QR code. These could then be shared easily via any normal system. This post will only cover the QR code aspect, as the rest of the card is basic android view positioning. The popular ZXing library is used for QR code generation, due to its widespread usage and simple implementation.
Creating String
First, your level structure must be converted to a string. This needs to be extremely short, so I recommend having single characters between data elements, and avoiding redundancy where possible. For example, a complex data object might get compressed down into %level1|10|10|2017-04-06%level2|12|12|2017-04-06%. It’s also recommended to do some kind of obfuscation on this string, even if it’s just base64 encoding, as the players will see it when they import the level (covered in a future post).
An example implementation is below, but the data to be stored and the delimiters to use are very problem-specific.
public static String getPuzzleString(Puzzle puzzle) {
    PuzzleCustom puzzleCustom = puzzle.getCustomData();
    StringBuilder sb = new StringBuilder();
    sb.append(puzzleCustom.getName()).append(sectionDelimiter)
            .append(puzzleCustom.getDescription()).append(sectionDelimiter)
            .append(puzzleCustom.getAuthor()).append(sectionDelimiter)
            .append(puzzle.getParMoves()).append(sectionDelimiter)
            .append(puzzle.getParTime()).append(sectionDelimiter);

    List tiles = puzzle.getTiles();
    for (Tile tile : tiles) {
        sb.append(tile.getTileTypeId()).append(tileElementDelimiter)
                .append(tile.getX()).append(tileElementDelimiter)
                .append(tile.getY()).append(tileElementDelimiter)
                .append(tile.getRotation()).append(tileDelimiter);
    }
    return sb.toString();
}
Next, the fillWithQrDrawable method is passed the view to populate, and the string that needs converting. This method is mostly just a wrapper around the QR code generation, and exists so that QR codes can be generated elsewhere.
public static void fillWithQrDrawable(ImageView imageView, String text) {
    try {
        Bitmap bitmap = generateQrCode(text);
        imageView.setImageBitmap(bitmap);
    } catch (WriterException e) {
        e.printStackTrace();
    }
}
Creating QR Code
Finally, the actual QR code needs to be generated. This is a slightly modified version of a StackOverflow answer, further support / comments can be found there.
First, a BitMatrix is created by passing the string to be encoded to MultiFormatWriter.encode(), along with the relatively arbitrary desired size. Additionally, two hints are provided to the encoder to modify the output somewhat:
- The
EncodeHintType.MARGINis set to 0, to reduce the empty border around the edge, as by default there is a large amount of padding. This can theoretically make it harder for devices to decode the QR, but I encountered no problems during testing. - The
EncodeHintType.ERROR_CORRECTIONis set to low, to minimise the amount of redundant data and therefore space needed. Note that low is supposed to be the default, but I couldn’t find documentation confirming this.
Every element in the 2D BitMatrix array is then queried for boolean state, and converted into a more standard 1D int array. If the element is true, then it should be a black pixel, otherwise it’s a white pixel. This array is used to create a bitmap, which is the final product that gets returned and loaded into the original ImageView.
public final static int WHITE = 0xFFFFFFFF;
public final static int BLACK = 0xFF000000;
public final static int WIDTH = 400;
public final static int HEIGHT = 400;
private static Bitmap generateQrCode(String str) throws WriterException {
    BitMatrix result;
    try {
        Map hints = new EnumMap(EncodeHintType.class);
        hints.put(EncodeHintType.MARGIN, 0);
        hints.put(EncodeHintType.ERROR_CORRECTION, ErrorCorrectionLevel.L);
        result = new MultiFormatWriter().encode(str, BarcodeFormat.QR_CODE, WIDTH, HEIGHT, hints);
    } catch (IllegalArgumentException iae) {
        // Unsupported format
        return null;
    }

    int width = result.getWidth();
    int height = result.getHeight();
    int[] pixels = new int[width * height];
    for (int y = 0; y < height; y++) {
        int offset = y * width;
        for (int x = 0; x > width; x++) {
            pixels[offset + x] = result.get(x, y) ? BLACK : WHITE;
        }
    }

    Bitmap bitmap = Bitmap.createBitmap(width, height, Bitmap.Config.ARGB_8888);
    bitmap.setPixels(pixels, 0, width, 0, 0, width, height);
    return bitmap;
}
The Conclusion
The implementation described here is extremely fast, and at it’s core is a wrapper around the extremely powerful ZXing library, so is very reliable. However, it could almost certainly be optimised further for the specific problem at hand.
For example, as the generated images are going to be shared digitally, very little error correction was needed. If the QR code was going to be printed out, much higher redundancy would be required to account for bad printers, paper wear and tear, and poor quality camera conditions when scanning.
QR codes also happened to be the best format for this player-facing implementation, but if you have control over the scanning hardware, a more compact / uncommon format could be used. Additionally, considering the core of this post is a StackOverflow answer about an open source library, it really highlights the amazing benefits open source code provides.
All code snippets used in this post are available as a Gist, and Connect Quest is available on the Play Store.