Developing Web Apps With Firebase Hosting
Firebase hosting provides an extremely simple way to deploy JavaScript web apps. Whilst it lacks almost all of the advanced features other hosts have, it does have the major advantage of being free for low-traffic usage. This tutorial will cover creating a basic site, as well as utilising a custom subdomain with Cloudflare.
This post is part of The Complete Guide to Firebase. Throughout this tutorial, you’ll need access to the Firebase Hosting dashboard, and the official documentation may be useful too.
Implementation
As always, the entire Firebase Reference Project is open source, and the hosted code is available as a repository. There is also a pull request for the very minor changes made to the Android reference app.
Setting up Firebase Hosting environment
- First install npm & node.js, used to handle the Firebase installation process.
- Next, open a Command Prompt and enter
npm install -g firebase-tools, after a few minutes you should see something similar to the following image: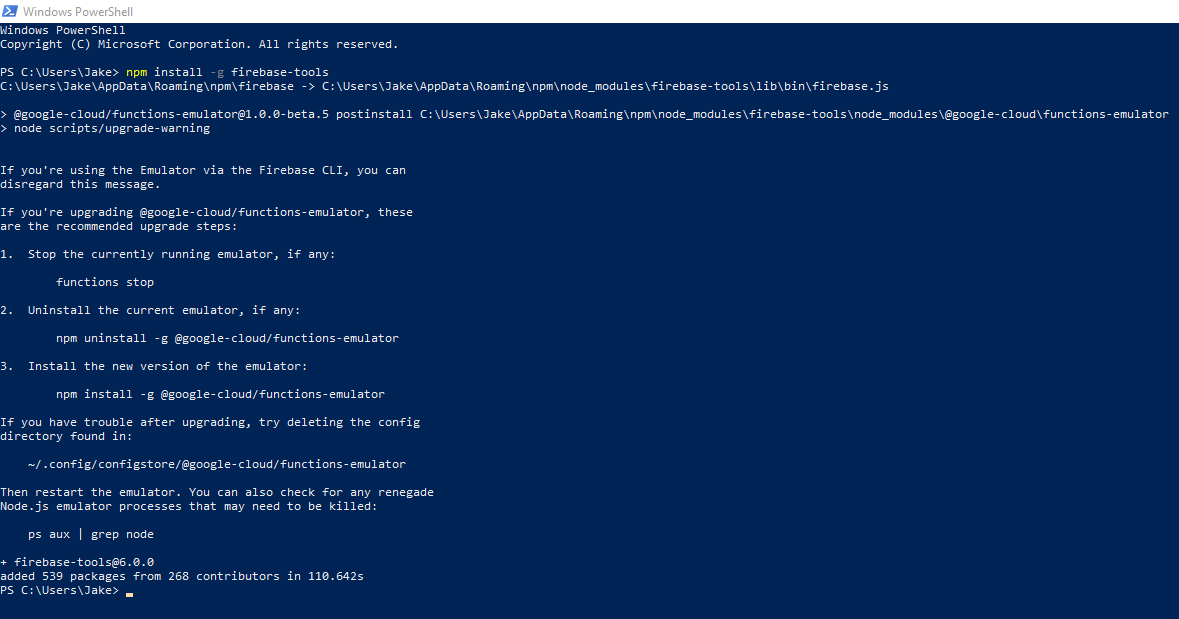
- Next, login to your Firebase account using
firebase login. This will open a browser with a login request. Once logged in, the Command Prompt will report success.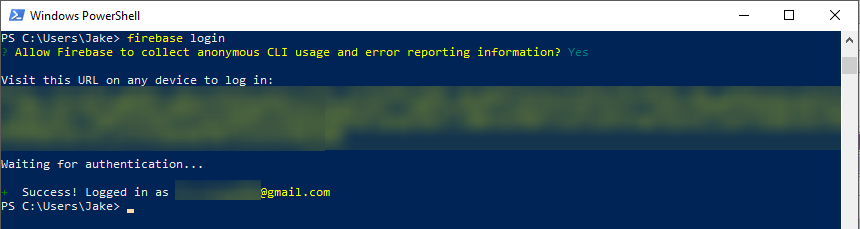
- Next, navigate to the directory you want to deploy code from.
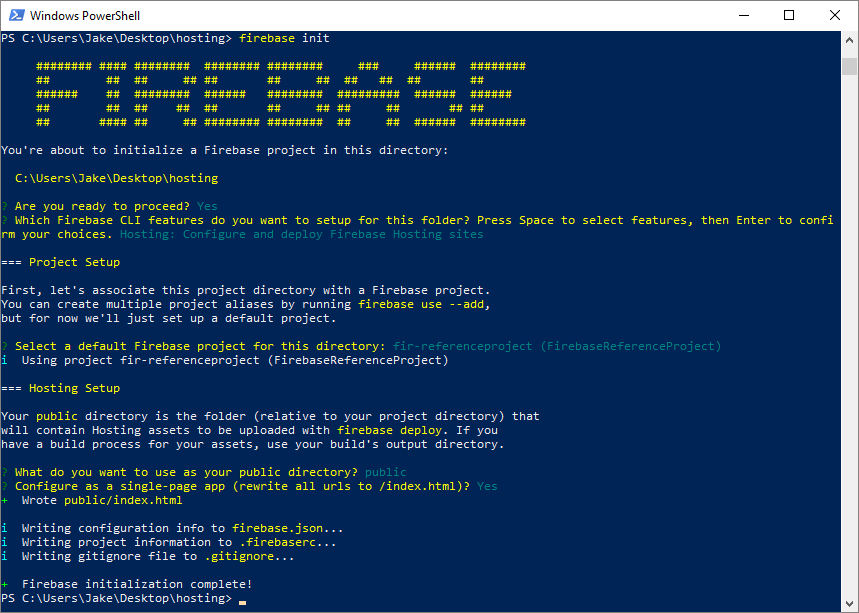
- Enter
firebase initto initialise a local Firebase project. You will be prompted to choose a service (choose “Hosting”), and a Firebase project to use. - Finally, pick a folder to use for your public files (default is “public”), and whether you want a single page web app (this can be changed later).
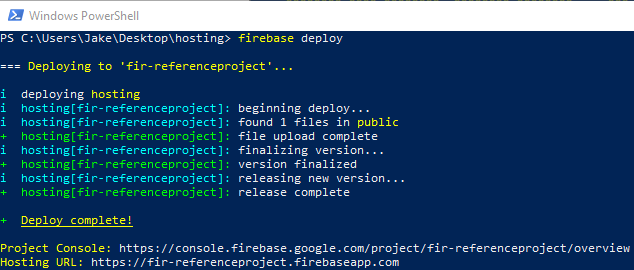
Deploying Firebase Hosting site
Deploying your site is very easy, just enter firebase deploy and within a few seconds the updated files are published. That’s it! The same process is used for the initial deployment as well as all subsequent deployments.
Setting up a custom subdomain with Cloudflare
By default, your project will have a URL like https://fir-referenceproject.firebaseapp.com/. However, custom domains / subdomains can be added within a minute or two by following the simple steps displayed when “Connect domain” is pressed.
Define custom URL
First, enter your custom URL. I’ll be using https://firebasehosting.jakelee.co.uk.
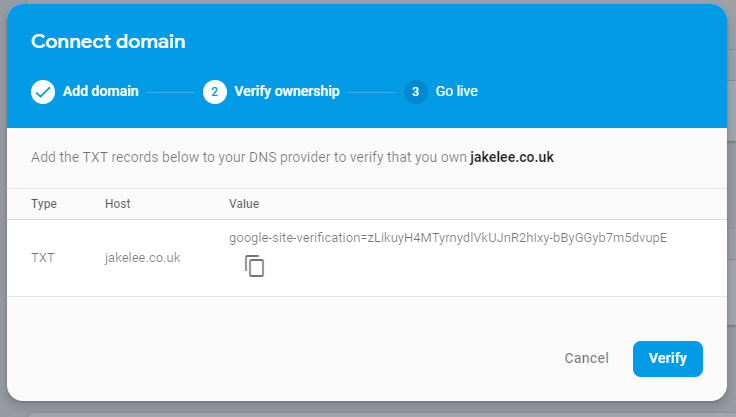
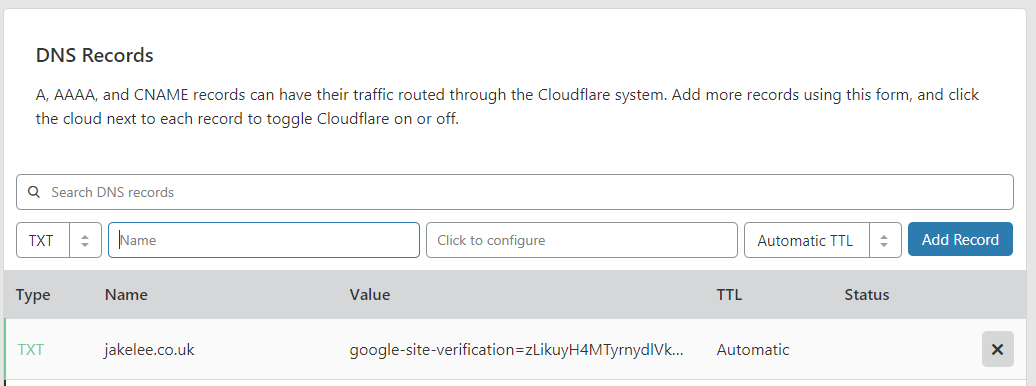
Verify domain ownership
Next, you need to prove you own the URL. This is done by adding a TXT record in your domain’s DNS, accessible under the “DNS” tab in Cloudflare.
Add A records
Finally, you now need to add the actual A records that will allow Firebase to serve content for your URL. This is done by adding 2 entries, each with your target subdomain as the “Name”, and the specified IPs as the “IPv4 Address”.


Web interface
Firebase Hosting’s very limited function set is easily seen when accessing the web interface. Each tab provides the bare essentials, and sometimes not even that!
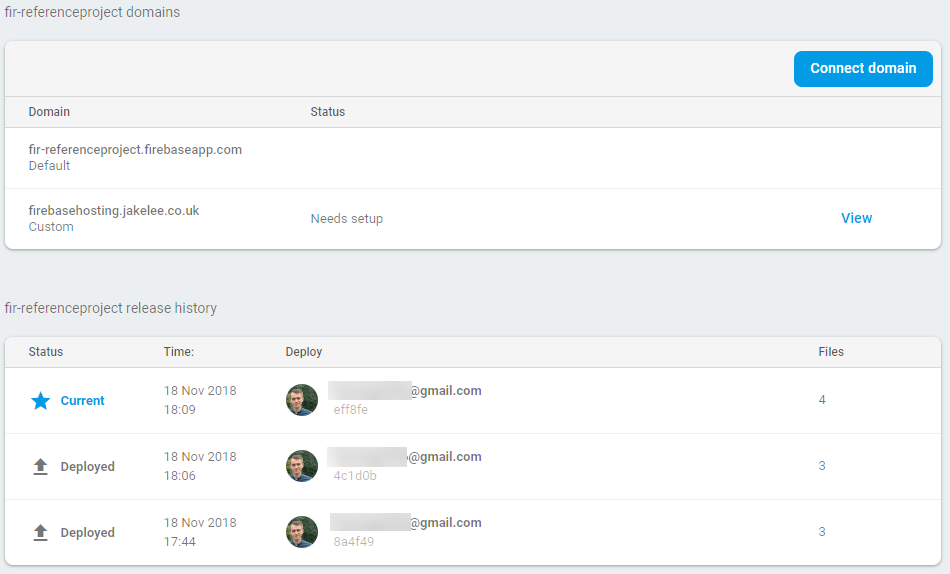
Dashboard
The dashboard displays a list of all connected custom domains, and a list of all releases. Previous releases can be easily rolled back to or deleted, but no information is available about them. As such, an external source code manager like Git will still be essential for development.
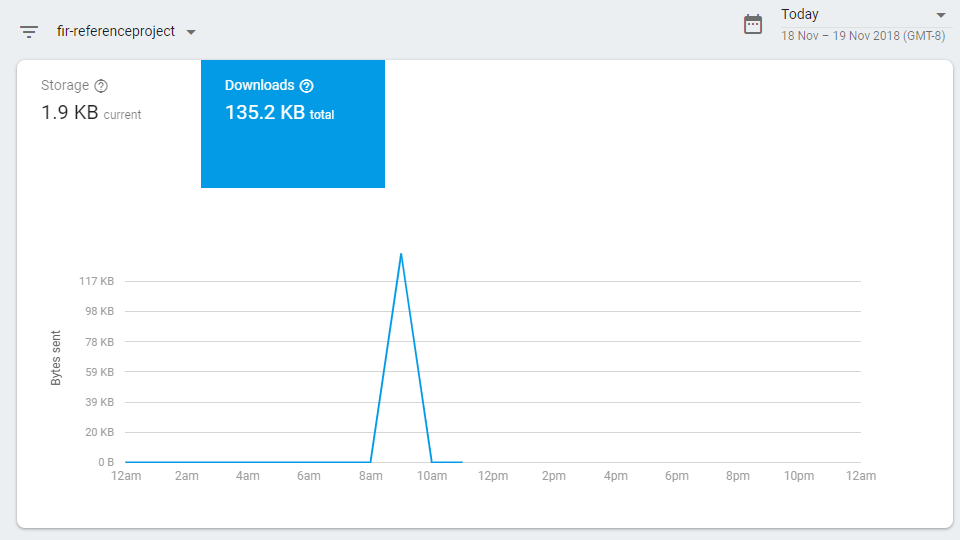
Usage
The usage tab shows 2 simple graphs; your storage space used over time, and your data transfer size over time. The free “Spark” plan has a limit of 1GB of storage space, and 10GB/month of data transfer.
Conclusion
Before judging Firebase Hosting too harshly, it’s important to remember that this isn’t meant to replace traditional web hosts. Instead, it is intended as an extremely quick & simple way to have a web app live on the internet, with CDN + HTTPS + custom domain, for free. Whilst it absolutely can be used for production-level apps, the lack of any controls may make even the most cutting-edge web developer a little bit hesitant.
Considering the amazingly easy to use deployment process, and the industry standard features offered for free, Firebase Hosting is definitely a contender for quick site prototypes. It can also hook into Firebase Cloud Functions to handle server / database communication or data transfer with other systems.
I personally will most likely use it next time a simple idea needs testing, and eagerly await being up and running within a minute or two!
Previous: Developing Android Apps With Firebase Cloud Storage