How to add a new programming language to GitHub: an introduction to Linguist 🔡
When viewing code on GitHub, have you noticed how syntax is almost always highlighted, and repositories have a breakdown of languages used? That’s due to Linguist! Here’s how to add a language.
Before we dive into how to add a language, we first need to cover what Linguist is, and what is needed before adding a new language.
Throughout this post, I’ll be using the example language of “Lingo”, which I have raised a Linguist PR for. Feel free to refer to that PR if something seems unclear.
What is Linguist?
Linguist is an open source project run by & used on GitHub itself (a “production dependency”), and watched over very attentively by at least one of the senior engineers there.
In its own words:
This library is used on GitHub.com to detect blob languages, ignore binary or vendored files, suppress generated files in diffs, and generate language breakdown graphs.
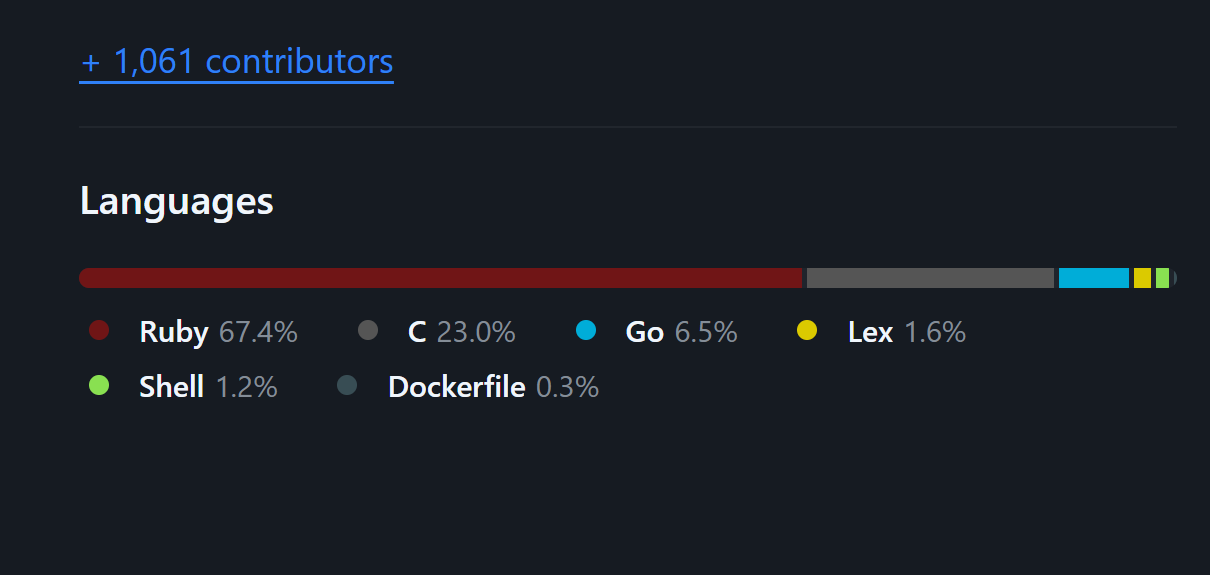
The most obvious usage of Linguist for me personally is this sidebar feature on every repository, helping indicate roughly what kind of code it contains:
Less obviously, but far more significant for developer experience, is the ability of GitHub to identify and syntax highlight almost any file it is given. Whilst this seems simple for files like .js, what about if a file has no extension? Or, even worse, when multiple languages share an extension (e.g. seven languages have a claim to .m).
Linguist solves all of this behind the scenes, with the help of contributors like you and me. Importantly, it (mostly) isn’t a team focused on writing new language parsers, instead it coordinates the use of existing software.
Language popularity
So, you have a programming language that isn’t detected by Linguist. Congratulations, it must be a pretty rare language!
Linguist only adds languages once they have a minimum level of usage, otherwise there would be thousands of languages that have only been used once for a hobby project. The guideline for adding a language (or a new file extension to a language) is 200 unique user/repo repositories.
As GitHub’s search often only shows results from the last few years, there is a little leeway here. For example, if there are > 2000 results for a language across a wide distribution of repositories, it’s likely to be accepted even if 200 unique repositories aren’t found (source).
Note: Adding a new file extension for an existing language has the same requirements as a brand-new language, to avoid a single language “claiming” too many extensions.
Language requirements
Here’s everything you need to submit a request for a new language to be added. I’d recommend gathering all this before actually implementing the new language, since it’s all required and can take time!
Linguist’s contributing guide is the source for most of this information, but hopefully the step-by-step visual detail here will make it a bit more beginner-friendly.
As a reminder, I’ll be using my “Lingo” PR as a concrete example for all of these.
Colour
The easiest part! If the language is added, what hex code should it use in usage graphs? This is usually a colour based on the language’s logo, for example I used an orange #974413 as my language’s program’s logo is orange.
Syntax highlighter
For your language’s syntax to be highlighted on GitHub, you need a syntax highlighter!
This is also known as a “grammar”. Luckily, it seems most text editors (e.g. TextMate, Sublime Text, Atom, VSCode) use the same format for syntax highlighting! This means if you already have a syntax highlighter installed to your preferred text editor, you can probably reuse it.
Additionally, make sure the repository has one of the accepted licenses, e.g. MIT.
For my language, I was using an MIT-licensed VSCode syntax highlighter that contained the necessary .tmLanguage.json file.
Real-world samples
To help Linguist “learn” what your language looks like, as well as ensuring appropriate tests can be written, 2-3 samples of your language are needed. These should be real world code, that does something useful, and not short “hello world” style examples.
As before, these samples should be from a source with an accepted license.
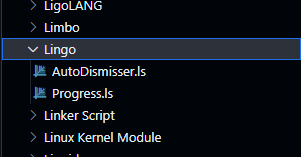
For my language, I used 2 files I’d looked at recently when extracting .ls files from Adobe Director: AutoDismisser.ls and Progress.ls.
Prove usage
This can either be the easiest or the hardest step!
If your file extension is unique, search for your file extension with PATH:*.abc -IS:FORK. This (fictional) extension returns 130k results, which would of course be plenty.
However, if your language shares an extension with an existing language, you need to use some sort of filter. This is typically done by including mandatory parts of your language’s files if possible, or more typically defining a regular expression to “catch” most of your language’s files. This is known as a “heuristic”, read on if you need one!
(Optional) Heuristic
As mentioned, if your language’s extension conflicts with another, you’ll need a heuristic to let Linguist work out which language to use.
You’ll likely want a regular expression for this, and you can use GitHub’s search as a playground to refine it. If your language has unique characteristics, you can just use those, for example a language that uses mycommand: at the start of each line could use /^mycommand:/.
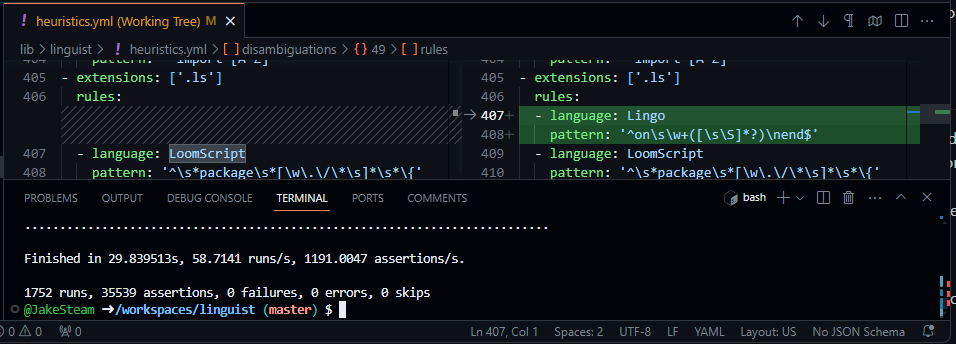
My language, Lingo, defines functions using on abc ... end. As such, I used a regular expression matching lines starting with on, then 1 or more words, followed (after x lines of function) with a line containing just end. This Regex looks like: /^on\s\w+([\s\S]*?)\nend$/, here it is in context.
Adding a new language
Okay, so you have all your necessary parts! What now?
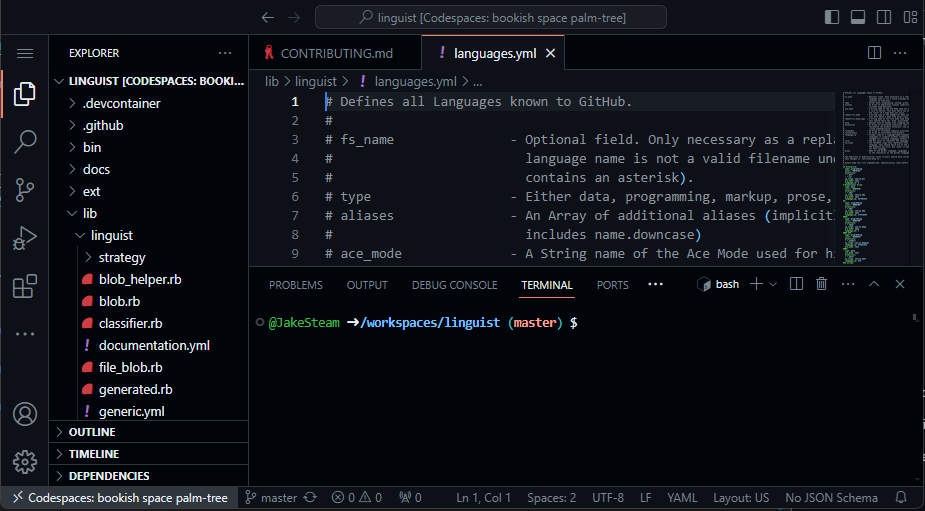
Linguist’s CONTRIBUTING.md covers various ways to contribute to the library. I’ll be using GitHub Codespaces, since it’s the easiest to get up and running.
GitHub Codespaces
- Click the GitHub Codespaces link, and create a new Codespace (all accounts have a small free allowance).
- Wait a few minutes whilst your Codespace spins up, it’ll look almost exactly like VS Code, but in a browser!
Adding a language
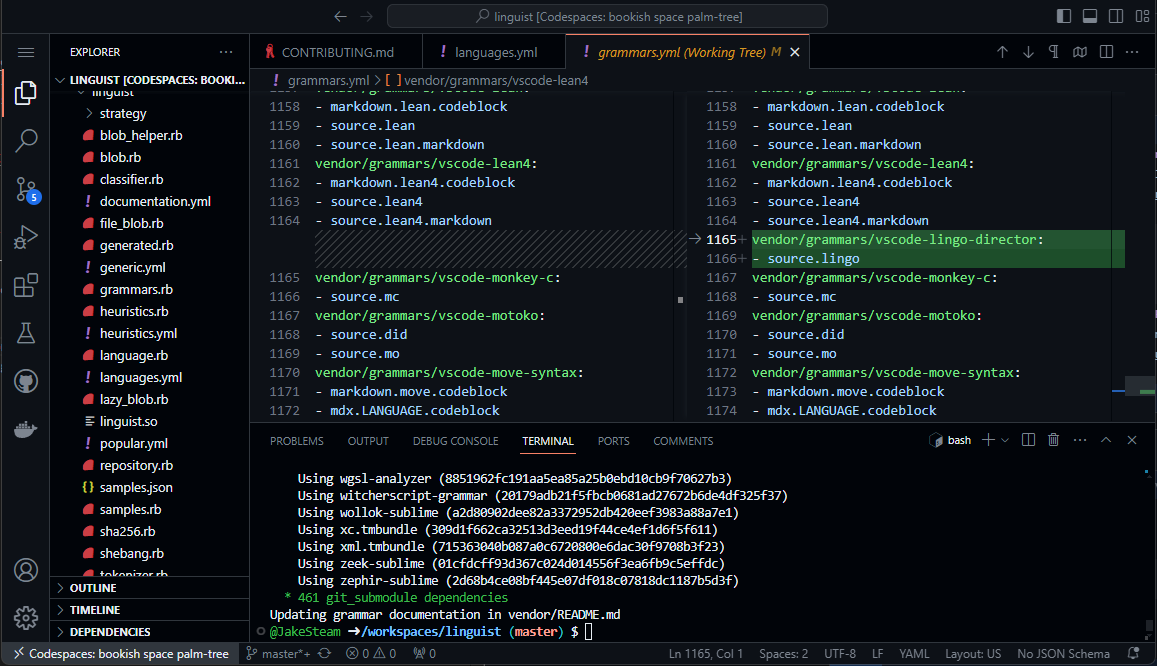
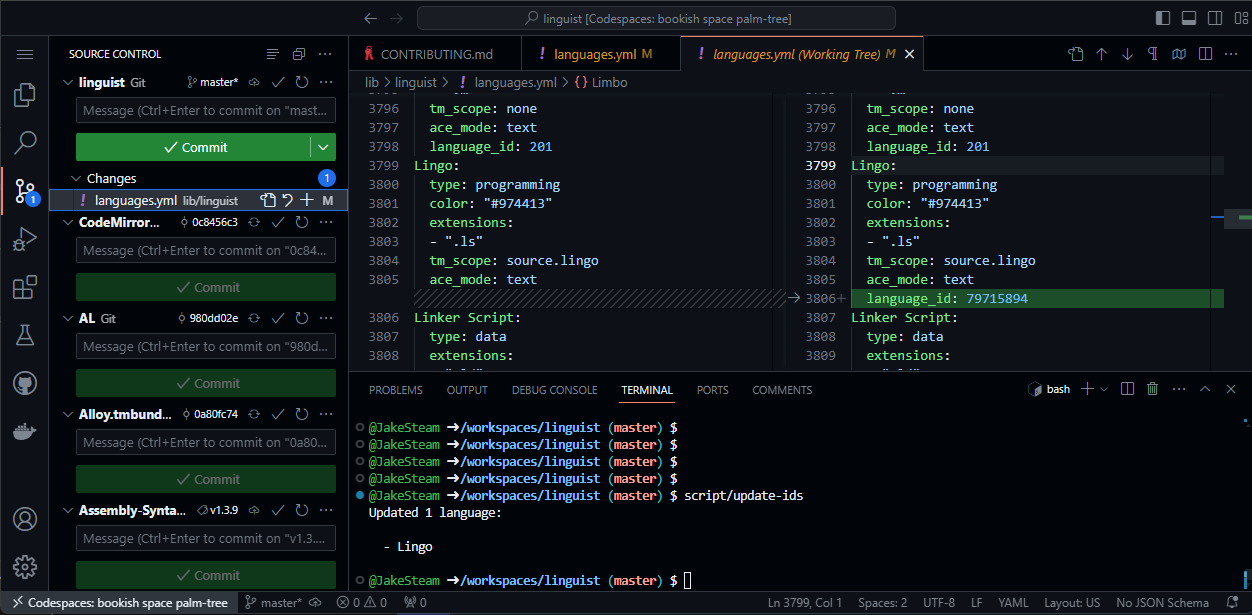
In the terminal, enter script/add-grammar <your repo> (e.g. script/add-grammar https://github.com/markhughes/vscode-lingo-director).
This will add your syntax highlighter as a submodule, make a copy of the license, and update grammars.yml with a new source._ definition. Make a note of this new definition (e.g. source.lingo).
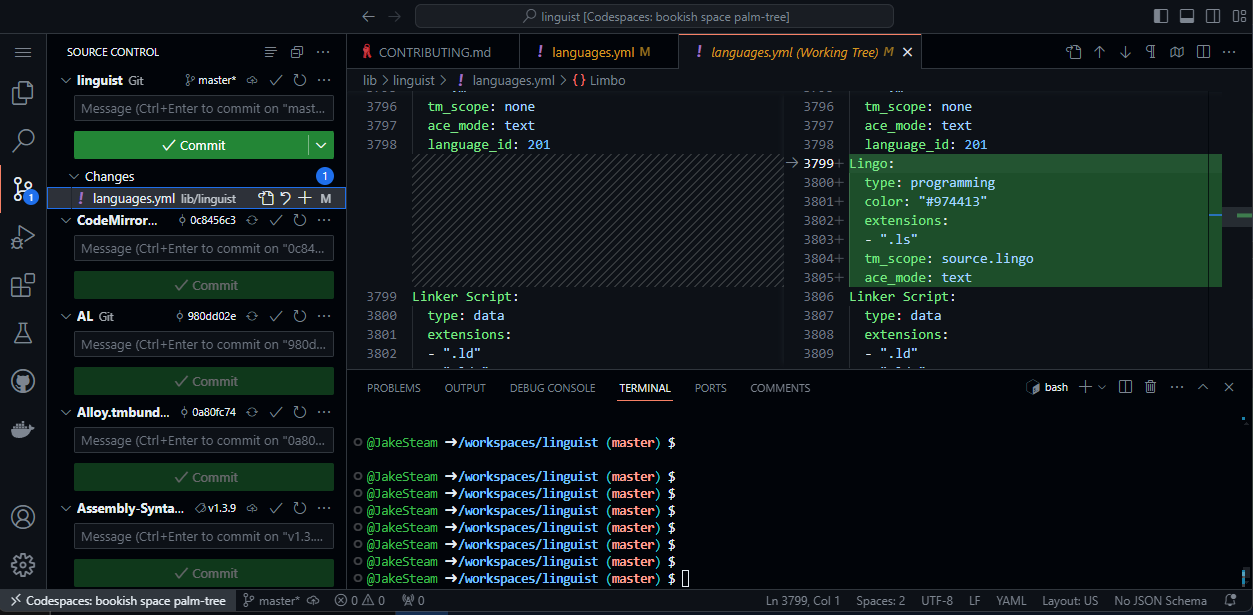
Open up languages.yml, find where your language should be alphabetically, and add a definition. This should be the same format as all the other languages, and include:
- The language name.
- The
type(usuallyprogramming, sometimesdata). - The
colorit should appear as on GitHub. - The
extensionsit uses. - The
tm_scope, your syntax highlighter from earlier. - The
ace_mode, you almost certainly wanttext, some languages have special modes.
Note: For more detail on these values, see the top of languages.yml.
Adding samples
Now, some supporting information is needed. Create a folder with the same name as your language in /samples/, and put 2 real world samples inside.
Terminal commands
Your language now (probably) has everything it needs! However, we need to run a few scripts to tell Linguist about our new content:
- Update the sample database by running
bundle exec rake samples. - Update the syntax highlighter list using
script/list-grammars. - Finally, run
script/update-ids. This will give your language an ID insidelanguages.yml.
You can check your work is done by running bundle exec rake test. If that reports no errors, you can move on to raising a PR!
If you are adding a new language with a file extension conflict, you’ll likely have some failing tests. Time to fix them.
Language tests
As mentioned, you only need to complete this step if you are adding an extension that is already in use. Luckily, it’s not much work at all.
First, open heuristics.yml, and find or create your extension’s section (again, alphabetically). Add your language, and your pattern AKA heuristic.
You’ll also need to add a test for your heuristic, in test_heuristics.rb. This can just copy the format of existing tests, no special logic is needed.
Run bundle exec rake test, they should all pass, and you are finally finished!
Raising a PR
First, make sure you’ve committed all your changes. In Codespaces, there is a source control tab (3rd), select it then click the + next to “Changes” to stage all your changes.
Add a meaningful commit message, click “Commit”, then “Publish Branch”. Choose your fork, and push the master branch up.
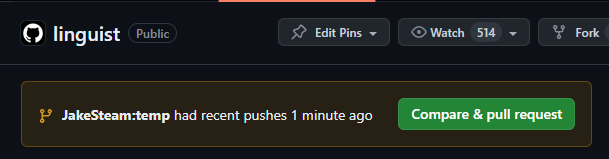
Opening the Linguist repository will now give a prompt about your recently pushed branch:
Click this, fill in the PR template carefully, and await feedback from the Linguist maintainers! I received feedback on my PR within a few hours, pointing out that I’d missed a test (oops).
Linguist has strict quality requirements, so your PR will only be merged if it follows every step, and crucially adds a language with enough usage. It’ll also only be merged shortly before a release (every few months), be patient!
Conclusion
GitHub is an extraordinary tool, consisting of hundreds of complex parts that do countless tasks under the hood to improve developer experience. Linguist’s ability to detect and highlight languages is one such feature, and having a basic understanding of how it works is useful!
There’s quite a few parts of Linguist that I’d like to look into more (e.g. how do the heuristics actually get used? What if two languages share the same name?), lots of which is hinted at in “How Linguist works”. It seems like a tool that has been happily growing for years, and is maintained with a lot of love.
Whilst I’m doubtful my example language “Lingo” will ever actually be added (it was invented in 1989, and formally killed along with Director in 2017), going through the process was fun! I’m sure I’ll end up working with a slightly less obscure language in the future and need to go through this process.
Pull requests on Linguist are merged just before a release (if the language meets requirements), so the repository activity comes and goes. However, in 2024 so far there have been 10+ language / extension additions, and 20+ changes to syntax highlighters, language identifiers, or other internal data. I was somewhat surprised there are so many languages meeting the requirements (Slint, TextGrid, Edge, Glimmer, Roc)!
Hopefully this guide helped provide a more guided / visual version of the official contributing guide.