Creating the PR template that Future You wishes Past You used
How many times have you found a confusing line of code, figured out which ticket it solved, opened the relevant PR and… nothing. There’s a few approvals and it’s merged, with no explanation / discussion of what on earth is going on!
When this happens, the only way to try and understand the code is to hope the author still works at the company (and remembers ancient, confusing code!). All it takes is a poor memory / high turnover, and there can easily be no helpful information anywhere.
This post will introduce a PR template I’ve used / refined through multiple teams, and have found extremely helpful. An example PR created using it is available in a sample repo.
PS: I’m very sorry for the ridiculous title, I couldn’t resist.
Why use a pull request template?
- As mentioned in the intro, it ensures all PRs have enough information to be useful for future developers.
- A consistent format helps newer developers know what a PR entails, without having to ask.
- It can remind a developer of a forgotten task, for example when they try to answer “What tests have been added?” and realise none have!
- Finally, having a structure with distinct sections avoids any “walls of text” or unstructured PRs.
How do I setup a pull request template?
The actual location varies by code host, but the approach is always a markdown template within a specific folder:
- GitHub (also has limited template support)
- Azure DevOps (also supports per-branch templates!)
- GitLab
- BitBucket
The PR template
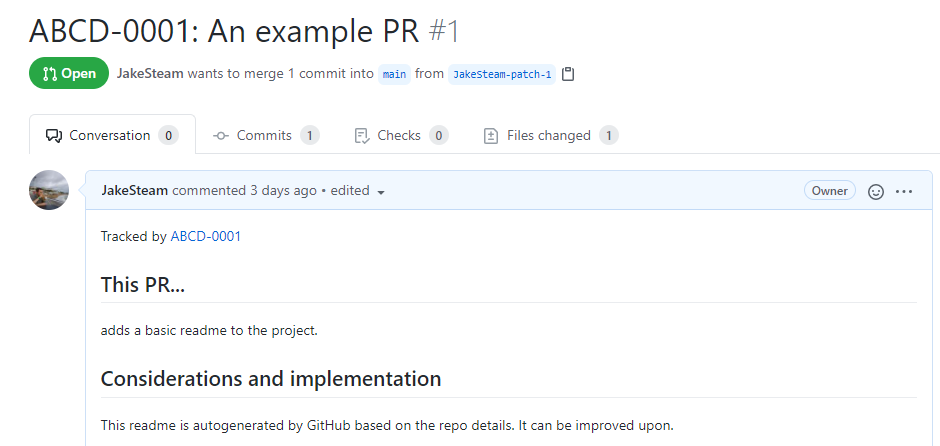
The PR template is provided in an example repository, here is the raw markdown, and here is an example PR raised with it.
Here’s why each section is essential:
“Tracked by…”
Having a link to the actual ticket makes it easy for developers to understand the purpose of the ticket, as well as ensuring information can easily be found.
Make sure to change the URL to match your JIRA / other ticket system format.
“This PR…”
Having a simple, one sentence summary of the ticket ensures the PR has a clear overall focus. For example, “This PR...
- adds an email validator to the login screen”
- fixes a bug caused by an invalid string reference”
- disables the no longer supported Fabric integration”
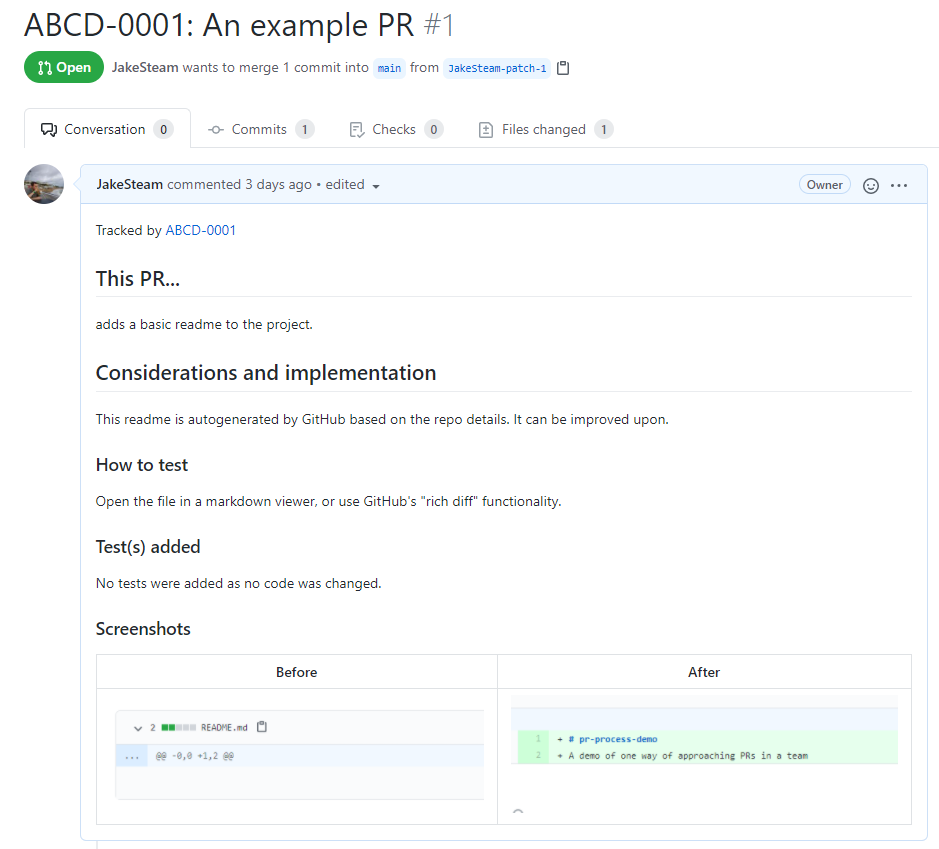
“Considerations and implementations”
This is the main body of the PR, and varies massively by PR. A simple PR may have a single sentence here, others may have multiple paragraphs, diagrams, etc.
“How to test”
Having an ordered, straightforward list of steps to test the changes massively helps overall understanding. This list can also be used as hints for QA, and is a good place to upload any custom configuration files etc needed.
“Test(s) added”
Having this section helps reminds developers to always add tests, or explain themselves if they can’t!
“Screenshots”
Having this section makes visual changes immediately obvious, and means visual bugs can often be identified instantly. Also, the screenshots are useful for non-devs preparing content for sprint review, or signing off work.
It’s worth mentioning that in less visual projects, this section could be called “Changes” and contain logs / process flows / etc. This section sometimes contains screenshots of Charles network requests or LogCat messages as well as normal screenshots.
Conclusion
Adding a PR template is a very easy change, yet drastically improves documentation quality. It’s the dream, writing self-organising documentation as you go! A template also ensures the repository contains its own documentation, instead of relying on employees knowing past tickets.
Since the template provided will probably be customised over time according to how your team functions, a repo of example templates may be useful.
Whilst having testing steps on the PR is useful for code review, ideally it should be accessible to QAs & POs too. A basic way to do this is just put a link to the PR on the ticket when moving it to “Ready to test”, but I’m sure there are automated solutions!
Finally, remember that if you’re using GitHub for PRs you also have access to the extremely useful rich diffs in PRs!