Importing Levels From QR Codes (Camera / File) in Android
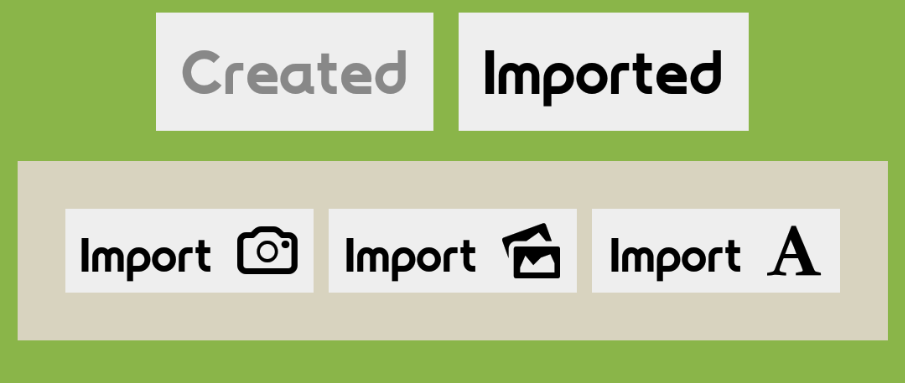
In a previous post, it was discussed how to export levels from an Android game (in this case Connect Quest) so that other players could play them. Now that they’re exported, we need to be able to import them again! This post will explain how to import QR codes either directly from the camera, or embedded within an image on the file system.
The Solution
Camera
To avoid including a barcode reader, camera display, orientation tracking, and requiring the camera permission, we offload this responsibility to an existing app that is present on many phones, Barcode Scanner by ZXing. Whilst there is a risk of the user not having this app installed, in my specific use case it wasn’t worth spending weeks reinventing the wheel for a little used feature. It is possible to embed ZXing and do the barcode scanning without a third party application.
When launching the barcode scanner, we also inform it (via the SCAN_MODE intent data) that we’re looking for QR Codes, to avoid it looking for other unrelated formats. If the user doesn’t have the application installed, we can’t scan, so we redirect the user to the store page for the ZXing app, and inform them what is happening.
The following is set as the onClick action for an import button, the result will be received by onActivityResult, described later in this post.
public void importFromCamera(View v) {
    try {
        Intent intent = new Intent("com.google.zxing.client.android.SCAN");
        intent.putExtra("SCAN_MODE", "QR_CODE_MODE");
        startActivityForResult(intent, INTENT_CAMERA);
    } catch (Exception e) {
        Toast.makeText(this, R.string.error_no_barcode_scanner, Toast.LENGTH_SHORT).show();
        Uri marketUri = Uri.parse("market://details?id=com.google.zxing.client.android");
        Intent marketIntent = new Intent(Intent.ACTION_VIEW, marketUri);
        startActivity(marketIntent);
    }
}
A video of this in action is embedded below. Note the quick scanning of the QR code, and how the data is immediately available for processing (level imported & ready to play straight away).
Photo
Retrieving a photo is a little more complex than live scanning a QR code, but it’s done without requiring another application. First, the onClick method of the import button is called, and passes the permission required (READ_EXTERNAL_STORAGE) and work to do (importFromFile()) to a runIfPossible function.
public void importFromFile(View v) {
    PermissionHelper.runIfPossible(Manifest.permission.READ_EXTERNAL_STORAGE, new Runnable() {
        @Override
        public void run() {
            importFromFile();
        }
    });
}
This runIfPossible function utilises the very straightforward AllowMe library. First, it checks if the permission is granted already. If it is, then we can run the callback (work to do) we passed through, otherwise the permission needs to be gained.
public static void runIfPossible(final String permission, final Runnable callback) {
    if (!AllowMe.isPermissionGranted(permission)) {
        new AllowMe.Builder()
                .setPermissions(permission)
                .setCallback(new AllowMeCallback() {
                    @Override
                    public void onPermissionResult(int requestCode, PermissionResultSet result) {
                        if (result.isGranted(permission)) {
                            callback.run();
                        }
                    }
                })
                .request(123);
    } else {
        callback.run();
    }
}
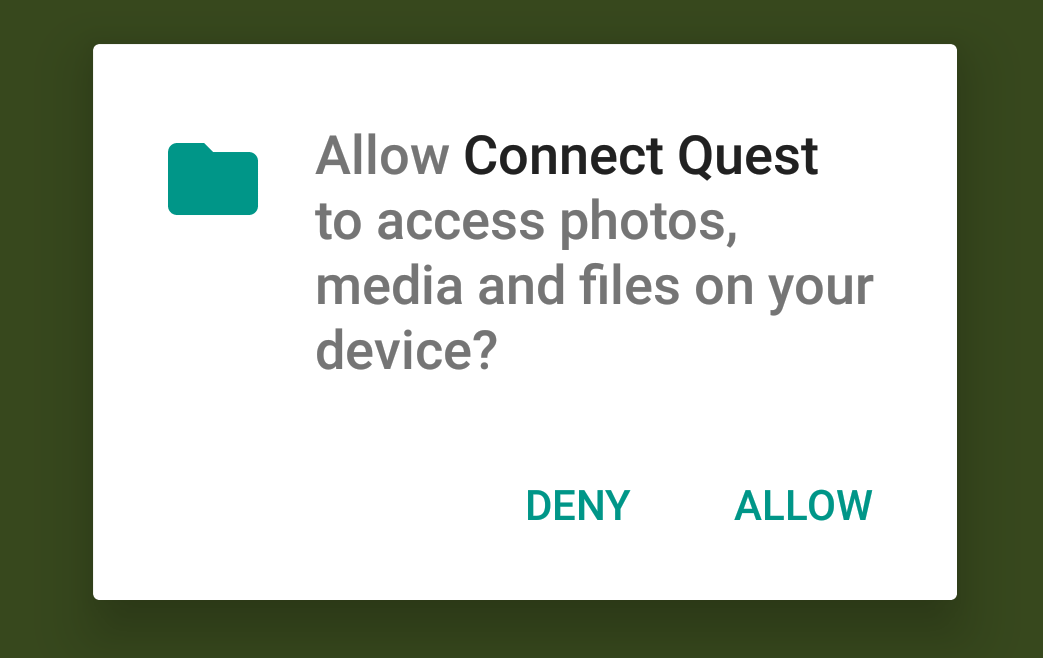
To gain the permission, a standard Android permission request is displayed, where the user can choose to allow or deny the app access to external storage. If it is approved (result.isGranted()), then the callback is run. If they deny the permission, then nothing is done, since we don’t have the access we need. Note that the request code here is irrelevant, since there are no other request codes being used in this code area.
The importFromFile function that does the actual work is very simple, and just opens a native Android image picker. This allows the user to use an interface that is familiar to them to navigate their images, and eventually select one to send back to our activity.
private void importFromFile() {
    Intent intent = new Intent();
    intent.setType("image/*");
    intent.setAction(Intent.ACTION_GET_CONTENT);
    startActivityForResult(Intent.createChooser(intent, "Select Picture"), INTENT_FILE);
}
Receiving
The activity that launched the camera or file import tasks now needs to be notified that there is incoming data. This is done via onActivityResult, since both of the previous tasks used startActivityForResult, so will return data when they are completed (either cancelled, or found an image / QR code to import).
The INTENT_CAMERA and INTENT_FILE values are just constants we used when starting the data-retrieval actions, so that we know which is returning data. They can be any integer, they should be unique though. First, we check that the action wasn’t a cancellation using resultCode == RESULT_OK, then process the retrieved data (covered after code snippet).
If the puzzleString has data, and it is successfully imported (split up, sanity checked, and added to database), then perform any post-import actions required.
@Override
public void onActivityResult(int requestCode, int resultCode, Intent data) {
    super.onActivityResult(requestCode, resultCode, data);

    if (resultCode == RESULT_OK) {
        String puzzleString = "";
        if (requestCode == INTENT_CAMERA) {
            puzzleString = data.getStringExtra("SCAN_RESULT");
        } else if (requestCode == INTENT_FILE) {
            try {
                Bitmap bitmap = MediaStore.Images.Media.getBitmap(this.getContentResolver(), data.getData());
                puzzleString = StorageHelper.readQRImage(this, bitmap);
            } catch (Exception e) {
                AlertHelper.error(this, AlertHelper.getError(AlertHelper.Error.FILE_IMPORT_FAIL));
            }
        }

        if (!puzzleString.equals("") && PuzzleShareHelper.importPuzzleString(puzzleString, false)) {
            GooglePlayHelper.UpdateEvent(Constants.EVENT_IMPORT_PUZZLE, 1);
            AlertHelper.success(this, R.string.alert_puzzle_imported);
            populatePuzzles();
        } else if (requestCode == INTENT_CAMERA) {
            AlertHelper.error(this, AlertHelper.getError(AlertHelper.Error.CAMERA_IMPORT_FAIL));
        } else if (requestCode == INTENT_FILE) {
            AlertHelper.error(this, AlertHelper.getError(AlertHelper.Error.FILE_IMPORT_FAIL));
        }
    }
}
The ZXing barcode scanner returns the data as a string extra under the key SCAN_RESULT, so we just read that. Easy! The file reader unfortunately has more work to do. First of all it checks the bitmap can actually be read (to avoid misnamed extensions, deleted files, private files, etc), then calls readQRImage.
Initially, ZXing was used for processing, however it was quite unreliable and regularly could not detect codes. As such, the Google Vision library was used instead. Using this library, we create a BarcodeDetector that is looking for QR codes, scan the image, then retrieve the first barcode found (there should only be one anyway!). The image
public static String readQRImage(Activity activity, Bitmap bitmap) {
    String contents = "";

    BarcodeDetector barcodeDetector = new BarcodeDetector.Builder(activity)
            .setBarcodeFormats(Barcode.QR_CODE)
            .build();

    SparseArray detectedBarcodes = barcodeDetector.detect(new Frame.Builder()
            .setBitmap(bitmap)
            .build());

    if (detectedBarcodes.size() > 0 && detectedBarcodes.valueAt(0) != null) {
        contents = detectedBarcodes.valueAt(0).rawValue;
    }
    return contents;
}
The camera or file QR code has now been successfully read, the puzzle imported, and the user is ready to play it!
The Conclusion
Supporting user created content can be a daunting task at first, but it’s worth the investment to increase engagement and allow the game a life of it’s own. Of course, if the app has the server resources to create a hosted content hub, that is superior, but offline distribution like this post describes is suitable for most smaller apps.
Whilst offloading the camera barcode scanning to a third party app isn’t ideal, it was decided upon as the approach to prevent having to integrate camera APIs, and to increase reliability. The file import option is also far more likely to be used, as users are more likely to save a picture from the internet than to scan a live QR code. Additionally, the user could just take a photo and scan that if they were unwilling to install another app.
Hopefully this post about how Connect Quest handles level sharing has encouraged you to consider it for your next game, and use this guide as a starting point. Good luck!
As always, there is a Gist available for all code used in this post.